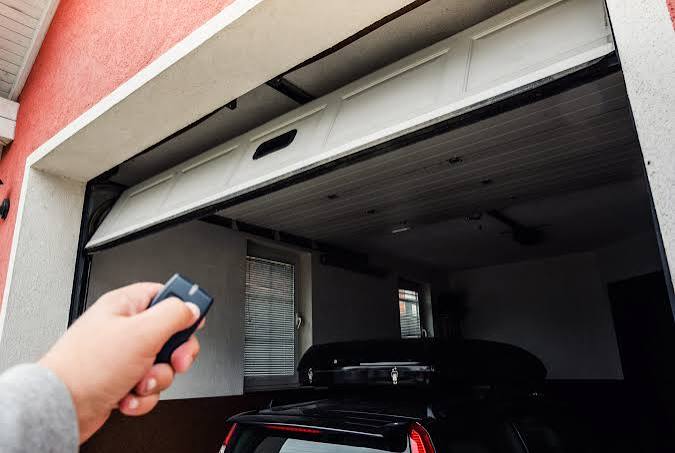
Tired of manually lifting your heavy garage door every time you come home, especially in the rain or late at night? You are not alone, and upgrading your setup is much easier and more affordable than you might think. In this comprehensive guide, we will show you exactly how to change a garage door from manual to automatic, giving you the ultimate mix of everyday convenience, enhanced security, and modern comfort.
Why Upgrade? The Benefits of Automating Your Garage Door
Before diving into the tools and steps, it is helpful to understand why this upgrade is one of the best home improvements you can make.
According to the National Association of Realtors (NAR), garage door upgrades consistently rank among the top home improvement projects for return on investment (ROI), often recouping over 90% of their cost. Beyond financial value, automating your door eliminates the physical strain of lifting a door that can weigh between 100 and 400 pounds.
Furthermore, safety is drastically improved. The Consumer Product Safety Commission (CPSC) notes that modern automatic garage door openers are equipped with photoelectric sensors and auto-reverse mechanisms, which have significantly reduced entrapment incidents since they became mandatory in 1993.
What You Need Before You Start: Tools and Parts
A successful DIY garage door upgrade requires the right preparation. Gather these tools and materials before you begin to ensure a smooth, uninterrupted workflow.
Essential Tools:
- Power drill with a set of drill bits
- Socket wrench set (typically 7/16-inch and 9/16-inch)
- Stepladder (at least 6 feet tall)
- Tape measure and level
- Pliers and wire strippers
- Vise grips or locking pliers
- Safety glasses and work gloves
Required Parts:
- A compatible garage door opener (belt-drive is recommended for quiet operation)
- Reinforcement bracket (for sectional doors)
- 22-gauge, non-bell, stranded wire (for safety sensors)
- Lag screws and bolts (usually included with the opener kit)
Pro Tip: Always verify that your existing manual door is in good working condition. An automatic opener is designed to move a balanced door, not to lift a broken or misaligned one.
How To Change A Garage Door From Manual To Automatic: Step-by-Step
Converting your door requires precision and patience. Follow these concrete, step-by-step instructions to ensure a safe and functional installation.
Step 1: Inspect and Balance the Manual Door
Disconnect the door from any existing tracks or locks. Manually lift the door to the halfway point and let go. A properly balanced door will stay in place. If it slides down or shoots up, the springs need professional adjustment before you proceed.
Step 2: Install the Header Bracket
Locate the center of your garage door opening. Measure and mark a spot on the wall 2 to 4 inches above the top of the closed garage door. Secure the header bracket firmly into a wooden stud or a sturdy piece of wood blocking using the provided lag screws. Do not mount this into drywall alone.
Step 3: Assemble and Mount the Opener Rail
Lay the opener motor and rail on the floor to assemble them according to the manufacturer’s manual. Typically, this involves sliding the rail sections together and securing them with 3/8-inch bolts. Once assembled, lift the motor unit and temporarily support it with a stepladder or a helper. Attach the front of the rail to the header bracket, ensuring the entire rail is perfectly level.
Step 4: Attach the Door Bracket and Arm
Close the garage door completely. Attach the vertical door bracket to the top section of the door using 1/4-inch x 1-inch bolts. If you have a sectional door, you must install a horizontal reinforcement strut across the top panel to prevent the door from bending under the opener’s force. Connect the curved and straight arms of the opener to the door bracket and the trolley on the rail.
Step 5: Wire the Safety Sensors and Wall Control
This is a critical safety step. Mount the photoelectric sensors on each side of the garage door track, exactly 6 inches above the floor. Run the 22-gauge stranded wire from the sensors to the motor head, stapling the wire neatly along the wall. Next, mount the wall control panel about 48 inches above the floor, away from moving parts, and connect it to the motor unit.
Step 6: Program the Limits and Force Settings
Plug in the opener. Follow the manual to set the “up” and “down” travel limits. Then, adjust the force dials to the manufacturer’s recommended mid-range setting. To test the auto-reverse safety feature, place a 1.5-inch thick piece of wood (like a 2×4) flat on the floor under the center of the door. Close the door; it must immediately reverse upon contacting the wood.
Understanding the underlying mechanics of a garage door opener can help you make informed decisions during installation and troubleshooting.
Manual vs. Automatic Garage Doors: A Quick Comparison
Not sure if the upgrade is worth it? Here is a quick breakdown to help you decide.
| Feature | Manual Garage Door | Automatic Garage Door |
|---|---|---|
| Convenience | Low (Requires physical effort) | High (Operated via remote or smartphone) |
| Security | Basic (Often relies on a simple lock) | Advanced (Rolling code technology prevents hacking) |
| Initial Cost | Low (Already installed) | Moderate ($250–$600 for DIY kit) |
| Maintenance | Low (Occasional lubrication) | Moderate (Sensor alignment, annual tune-ups) |
| Safety | Moderate (Risk of strain or pinching) | High (Auto-reverse and photoelectric sensors) |
Safety First: Crucial Tips for a Secure Installation
Expert Insight: “The number one mistake DIYers make is ignoring the door’s balance,” says John Mitchell, a certified garage door technician with over 15 years of experience. “An opener is not a lifting device; it is a moving device. If the springs are not balanced, the opener will burn out prematurely or cause the door to crash.”
- Always unplug the unit before making any wiring adjustments.
- Never place fingers near moving parts, hinges, or springs while the door is in motion.
- Use a helper when lifting the motor unit to the ceiling to avoid back strain or dropping the equipment.
Frequently Asked Questions (FAQ)
1. Can any manual garage door be converted to automatic?
Yes, the vast majority of standard sectional manual garage doors can be converted. However, the door must be in good structural condition and properly balanced. One-piece swing-out doors may require specific, specialized opener kits.
2. How much does it cost to change a manual garage door to automatic?
For a DIY installation, a quality garage door opener kit typically costs between $250 and $600, depending on the horsepower and drive type (chain, belt, or screw). If you hire a professional, expect to pay an additional $150 to $300 for labor.
3. Do I need a professional to install a garage door opener?
While not legally required, hiring a professional is recommended if you are uncomfortable working with electrical wiring, ladder heights, or heavy machinery. If your door springs need adjustment, always call a professional, as torsion springs are under extreme tension and can be dangerous.
4. How long does it take to convert a manual garage door to automatic?
For a homeowner with basic DIY skills and the right tools, the installation process typically takes between 3 to 5 hours. First-timers should allocate a full weekend to ensure they can work carefully and safely.
5. What maintenance is required after converting to an automatic garage door?
To keep your system running smoothly, lubricate the rollers, hinges, and springs with a silicone-based lubricant every six months. Additionally, test the auto-reverse safety feature monthly and ensure the photoelectric sensors remain clean and properly aligned.
Conclusion
Learning how to change a garage door from manual to automatic is a highly rewarding DIY project that pays dividends in daily convenience, home security, and property value. By following this step-by-step guide, prioritizing safety, and using the right tools, you can successfully modernize your garage without breaking the bank.
Are you ready to say goodbye to heavy lifting? Share this guide with your friends and family on social media who might be considering the same upgrade, and let us know in the comments how your installation went!
Disclaimer: This article is for informational purposes. Always refer to your specific garage door opener manufacturer’s manual and consult a licensed professional if you are unsure about any step involving high-tension springs or electrical wiring.
Leave a Reply