Introduction
Is your garage door stopping too early or reversing before it even hits the floor? Learning how to adjust the travel on a garage door opener can save you from costly repairs, motor strain, and daily frustration. In this guide, we will walk you through a simple, safe, and highly effective step-by-step process to get your door moving perfectly again.
Why Adjusting Garage Door Travel Limits Matters
Your garage door’s travel limits (also known as “travel boundaries”) tell the motor exactly when to stop moving up and when to stop moving down. Over time, seasonal temperature changes, worn springs, or minor shifts in the door’s tracks can cause these limits to drift.
According to the Consumer Product Safety Commission (CPSC), improperly adjusted garage doors contribute to thousands of preventable safety incidents and property damage claims annually. When the “up” limit is set too high, the door can strain the motor and damage the top rollers. When the “down” limit is set too low, it can crush weather stripping or reverse unnecessarily. Getting this balance right is not just about convenience; it is a critical home safety measure.
How To Adjust The Travel On A Garage Door Opener: A Step-by-Step Guide
Adjusting your garage door opener may sound technical, but it is a straightforward DIY task if you follow these precise steps. Always prioritize safety: keep hands clear of moving parts and disconnect the power if you are inspecting internal wiring.
Tools You Will Need:
- A sturdy stepladder
- A flathead or Phillips screwdriver (depending on your model)
- A measuring tape
- A 2×4 piece of wood (for safety testing)
Step 1: Locate the Travel Adjustment Screws
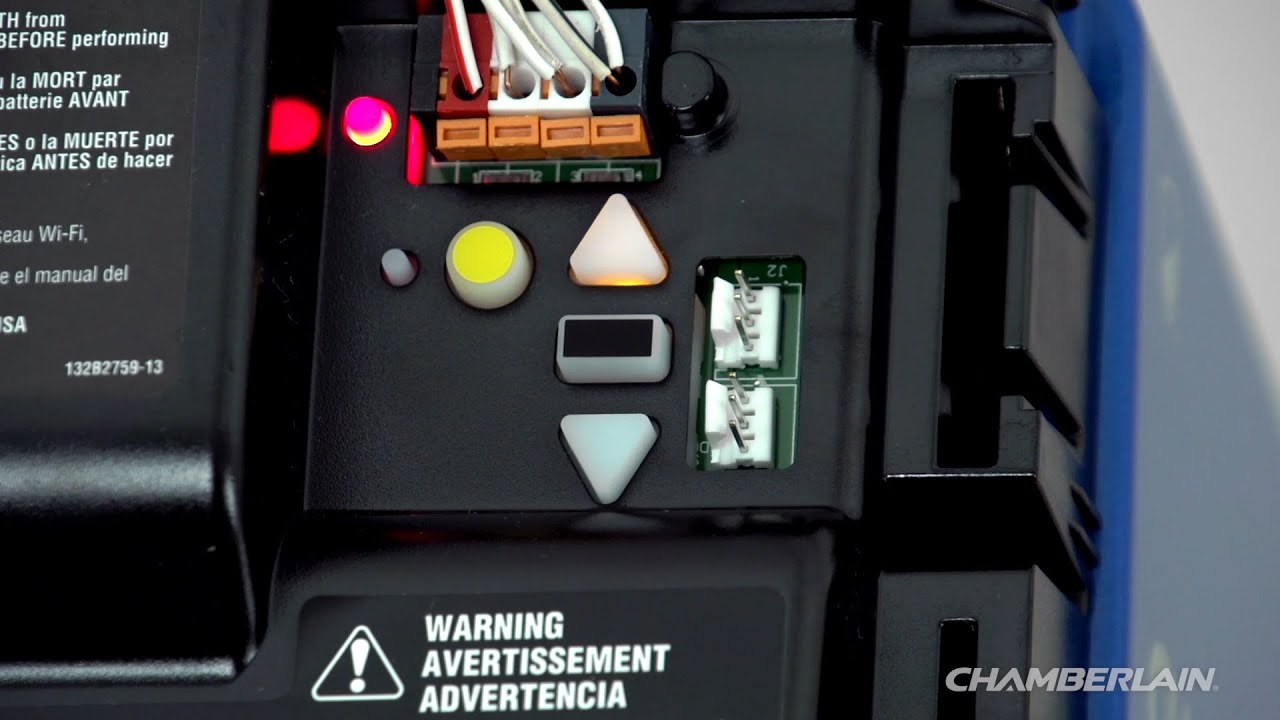
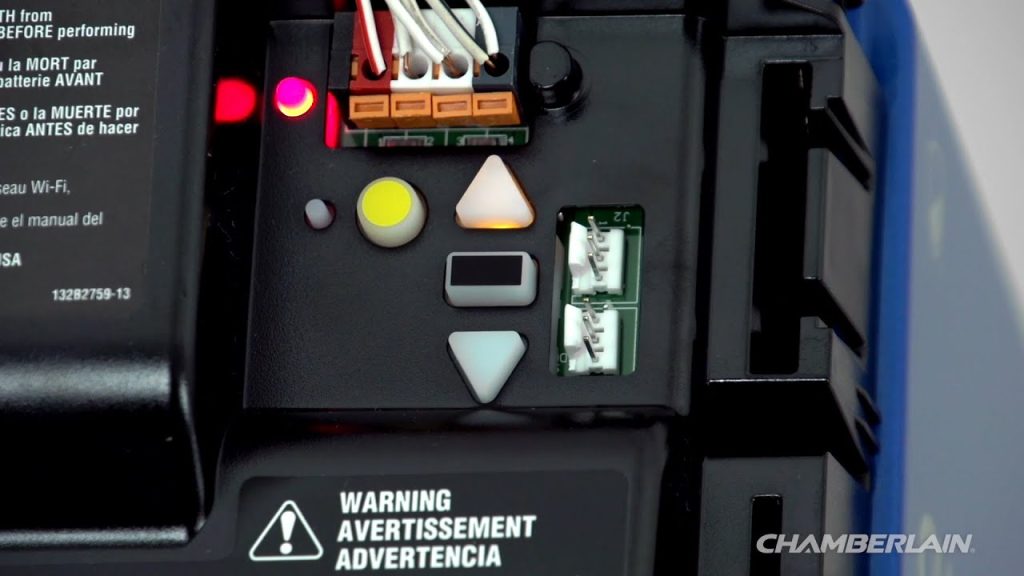
Open the light cover on your garage door opener motor unit. You will typically find two plastic adjustment screws. They are often color-coded:
- Yellow or Green Screw: Controls the “Up” (open) travel limit.
- Gray or Red Screw: Controls the “Down” (close) travel limit.
Note: Newer smart models may use digital buttons and a screen instead of physical screws.
Step 2: Adjust the “Up” Travel Limit
If your door does not open all the way, it may hit the header or leave a gap.
- Stand on your stepladder and locate the “Up” adjustment screw.
- Use your screwdriver to turn the screw 1/4 turn at a time in the direction indicated by the arrow on the motor housing (usually clockwise to increase travel).
- Operate the door using the wall button. Observe the new stopping point.
- Repeat the 1/4 turn adjustments until the door opens fully without the motor straining or grinding at the top.
Step 3: Adjust the “Down” Travel Limit
If your door reverses before touching the ground or leaves a gap at the bottom, the down limit needs adjustment.
- Locate the “Down” adjustment screw.
- Turn the screw 1/4 turn at a time (usually counter-clockwise to increase downward travel).
- Close the door and check the seal. The rubber weather stripping at the bottom should compress slightly against the concrete floor, creating a tight seal without the motor continuing to push down forcefully.
Step 4: Test the Safety Reversal System
This is a non-negotiable safety step. After adjusting the travel limits, you must verify the auto-reverse feature works.
- Place a 2×4 piece of wood flat on the floor directly in the center of the door’s path.
- Close the garage door using the wall button.
- The moment the door touches the wood, it must immediately stop and reverse back to the fully open position.
- If it does not reverse, your force settings are incorrect, and you must adjust them before using the door.
Common Signs Your Garage Door Travel Needs Adjustment
How do you know if it is time to intervene? Watch for these specific red flags:
- Premature Reversal: The door hits the floor and immediately bounces back up.
- Motor Humming: The door reaches the top or bottom, but the motor continues to hum for 2–3 seconds before stopping.
- Visible Gaps: Daylight is visible under the closed door, indicating the down limit is too high.
- Crushed Weather Stripping: The rubber seal at the bottom is visibly flattened, torn, or peeling due to excessive downward force.
Travel Limit Adjustment: Chamberlain vs. LiftMaster
While Chamberlain and LiftMaster are owned by the same parent company and share similar mechanics, their user interfaces can differ slightly. Here is a quick comparison to help you navigate your specific model:
| Feature | Chamberlain (Standard Models) | LiftMaster (Professional Series) |
|---|---|---|
| Adjustment Type | Typically plastic screw dials | Plastic screws or digital “UP/DOWN” buttons |
| Color Coding | Yellow (Up), Gray (Down) | Yellow (Up), Gray (Down) or labeled text |
| Reset Process | Hold the “Learn” button until the LED blinks | Press and hold the adjustment buttons for 10 secs |
| Smart Integration | MyQ app allows minor limit tweaks | MyQ app provides detailed diagnostic travel data |
Pro Tip: If you have a newer model with a digital screen, you will navigate the menu using “Up” and “Down” arrow buttons to set the travel limits in inches, rather than turning physical screws.
Expert Tip: The Role of Force Settings
Travel limits and force settings are deeply interconnected. The travel limit tells the door where to stop, but the force setting determines how much power the motor uses to get there.
If you adjust the travel limit correctly but the door still reverses, the down-force is likely set too low. Conversely, if the down-force is too high, the door becomes a crushing hazard. For a deeper understanding of the evolution and safety mechanisms of these devices, you can explore the comprehensive technical history of the garage door opener on Wikipedia. Always adjust travel limits before fine-tuning force settings.
Frequently Asked Questions (FAQ)
1. How do I know if my garage door travel limits are set incorrectly?
You will notice physical signs: the door stops too high, leaves a gap at the bottom, reverses immediately upon touching the floor, or the motor strains and hums after the door has already reached its endpoint.
2. Can I adjust the travel on a smart garage door opener?
Yes. Many modern smart openers (like those with MyQ technology) allow you to adjust travel limits digitally via the companion smartphone app or directly on the motor unit’s digital display, eliminating the need for manual screw adjustments.
3. What happens if I turn the travel adjustment screw too far?
Turning the screw too far can cause severe damage. Over-traveling the “up” limit can bend the door tracks or strip the gears. Over-traveling the “down” limit can cause the door to forcefully bury itself into the floor, damaging the panels, bottom seal, and potentially the motor’s logic board.
4. How often should I check my garage door travel limits?
It is recommended to inspect and test your garage door travel limits and safety reversal system at least twice a year, ideally during the spring and fall when temperature shifts can affect door tension and track alignment.
5. Why does my garage door reverse before closing completely?
This is usually caused by one of three issues: the down travel limit is set too high, the down-force setting is too low, or the safety photo-eye sensors are misaligned or obstructed by dirt and debris. Always check the sensors first, as they are the most common culprit.
Conclusion
Mastering how to adjust the travel on a garage door opener is a valuable DIY skill that enhances your home’s safety, protects your investment, and ensures smooth daily operation. By following these precise, step-by-step instructions, you can eliminate premature reversals, prevent motor strain, and guarantee a tight, secure seal every time the door closes.
Remember to always test the safety reversal system with a 2×4 piece of wood after making any adjustments. If your door continues to behave erratically after these tweaks, it may be time to consult a certified garage door technician.
Found this guide helpful? Share it with your friends, family, or neighbors on Facebook, Twitter, or Pinterest to help them keep their homes safe and their garage doors running smoothly!
Leave a Reply