Have you ever heard a loud rattling noise coming from your garage or noticed your door struggling to open smoothly? It is often a sign that your chain drive needs attention. Knowing how tight should chain be on garage door opener is crucial for preventing premature wear and ensuring your home remains secure and quiet.
Many homeowners ignore this small detail until the chain snaps or the motor burns out. By understanding the proper tension, you can extend the life of your opener and avoid costly repairs. Let’s dive into the specifics of keeping your garage door running like new.
Why Proper Chain Tension Matters for Your Opener
The chain in your garage door opener is the muscle behind the movement. It transfers power from the motor to the trolley, which then pulls the door up and down. If this chain is too loose, it can slip off the sprocket or cause excessive vibration. If it is too tight, it puts unnecessary strain on the motor and bearings.
According to industry standards, a properly tensioned chain ensures smooth operation and reduces noise pollution in your home. A study by the International Door Association (IDA) suggests that regular maintenance, including tension checks, can extend the lifespan of an opener by up to 5 years.
The Risks of Incorrect Tension
| Condition | Potential Consequences |
|---|---|
| Too Loose | Chain slippage, loud rattling, uneven door movement, potential derailment. |
| Too Tight | Motor overheating, premature bearing failure, increased energy consumption. |
| Just Right | Quiet operation, efficient power transfer, longer component lifespan. |
How Tight Should Chain Be On Garage Door Opener?
The golden rule for chain tension is simple: it should have about 1/4 inch to 1/2 inch of slack in the middle of the span.
To visualize this, imagine pressing up on the chain with your finger. It should move slightly but not feel floppy. If you can lift it more than half an inch, it is too loose. If it feels rigid like a guitar string, it is too tight.
This specific range allows for thermal expansion and contraction of the metal while maintaining enough grip on the sprocket teeth. Most manufacturers, such as LiftMaster and Chamberlain, recommend this exact measurement in their user manuals.
Checking the Tension: A Step-by-Step Guide
- Disconnect the Power: Always unplug the opener or turn off the circuit breaker before touching any moving parts. Safety first!
- Locate the Midpoint: Find the center of the chain between the motor unit and the pulley at the far end of the rail.
- Perform the Pinch Test: Gently push the chain upward. Measure the distance it moves.
- Inspect for Wear: Look for rust, stretched links, or missing rollers while you are there.
If you are unsure about the technical specifications of your specific model, you can always refer to the general guidelines provided by Wikipedia’s entry on Garage Door Openers for a broad overview of how these systems function.
Signs Your Garage Door Chain Needs Adjustment
Sometimes the problem isn’t just about measurement; it’s about how the door behaves. Here are common symptoms that indicate your chain needs immediate attention:
- Loud Rattling or Clanking: This is the most obvious sign of a loose chain hitting the rail.
- Jerky Movement: If the door starts and stops abruptly, the chain may be slipping.
- Door Won’t Close Fully: A loose chain might not have enough tension to pull the door all the way down.
- Visible Sagging: If you can see the chain hanging significantly below the rail, it is definitely too loose.
Ignoring these signs can lead to more severe issues, such as the chain jumping off the track entirely. This often requires a professional technician to fix, costing you significantly more than a simple DIY adjustment.
How to Adjust the Chain Tension Yourself
Adjusting the chain is a straightforward task that usually takes less than 15 minutes. You will need a ladder, a wrench set, and possibly a pair of pliers.
Step 1: Prepare the Area
Clear any obstacles from under the garage door. Ensure you have stable footing on your ladder. Remember to keep the power disconnected during this process.
Step 2: Locate the Adjustment Bolts
Look at the back of the motor unit where the chain enters. You will see two bolts: one for tightening and one for locking. These are usually located on the mounting bracket.
Step 3: Loosen the Locking Nut
Use your wrench to loosen the nut that holds the adjustment bolt in place. Do not remove it completely; just loosen it enough so the bolt can turn.
Step 4: Adjust the Tension
- To Tighten: Turn the adjustment bolt clockwise. This pulls the motor unit slightly forward, increasing tension.
- To Loosen: Turn the adjustment bolt counter-clockwise. This allows the motor to slide back, reducing tension.
Make small adjustments—about a quarter turn at a time. Check the tension after each adjustment using the pinch test mentioned earlier.
Step 5: Secure and Test
Once you achieve the desired 1/4 to 1/2 inch of slack, tighten the locking nut securely. Reconnect the power and test the door by opening and closing it a few times. Listen for any unusual noises.
Common Mistakes to Avoid When Tightening Chains
Even experienced DIYers can make mistakes. Here are a few pitfalls to watch out for:
- Over-tightening: This is the most common error. A chain that is too tight will wear out the motor gears quickly. Always err on the side of slightly looser if you are unsure.
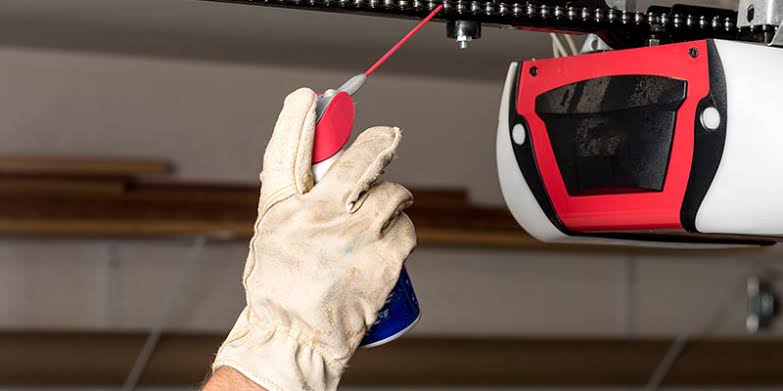
- Ignoring Lubrication: A dry chain will squeak and wear faster. After adjusting, apply a high-quality garage door lubricant to the chain. Avoid WD-40 as it attracts dust; use a silicone-based or lithium grease instead.
- Forgetting to Check the Rail: Sometimes the issue isn’t the chain but a bent rail. Ensure the rail is straight and aligned before blaming the chain tension.
FAQ Section
Q: How often should I check my garage door chain tension?
A: It is recommended to check the tension every 6 months. Regular maintenance prevents small issues from becoming major repairs. If you live in an area with extreme temperature changes, check it more frequently as metal expands and contracts.
Q: Can I use any type of lubricant on my garage door chain?
A: No, you should use a lubricant specifically designed for garage doors. Silicone-based sprays or white lithium grease are ideal. Avoid heavy oils or WD-40, as they can attract dirt and gum up the mechanism over time.
Q: What if my chain keeps coming loose after adjustment?
A: If the chain repeatedly loses tension, it may be stretched beyond its useful life. In this case, replacement is necessary. Also, check the sprocket for wear, as a damaged sprocket can prevent the chain from staying tight.
Q: Is it safe to adjust the chain while the door is closed?
A: Yes, it is actually safer to adjust the chain when the door is closed and the system is under no load. Just ensure the power is disconnected to prevent accidental activation.
Q: Does weather affect chain tension?
A: Yes, temperature fluctuations can cause metal chains to expand in heat and contract in cold. This is why a small amount of slack is necessary. If you notice significant changes in tension with the seasons, you may need to readjust accordingly.
Conclusion
Maintaining the correct tension on your garage door opener chain is a small task with big benefits. By ensuring your chain has 1/4 to 1/2 inch of slack, you protect your motor, reduce noise, and ensure reliable operation.
Remember to check the tension regularly, lubricate the chain properly, and address any signs of wear immediately. Taking these steps will save you money on repairs and keep your home safe.
If you found this guide helpful, please share it with your neighbors or on social media. Helping others maintain their homes creates a safer and more efficient community for everyone!
Leave a Reply