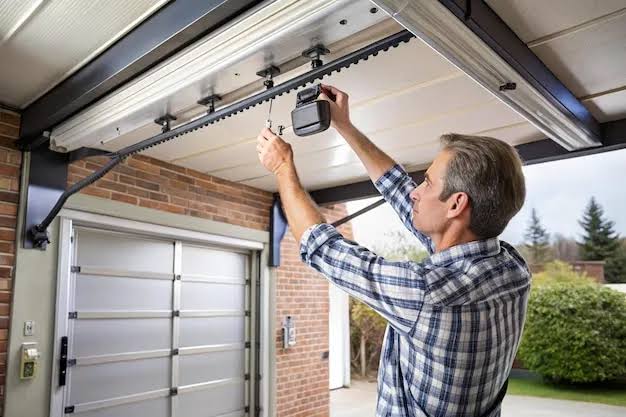
A broken garage door can completely disrupt your daily routine, leaving your car trapped and your home vulnerable to the elements. If you are dealing with snapped or frayed wires, you are probably wondering, how much does it cost to replace garage door cables to get things running smoothly again? Let us break down the exact pricing, safety tips, and repair options so you can make the best choice for your budget and peace of mind.
How Much Does It Cost To Replace Garage Door Cables?
When addressing this issue, the total expense generally falls between $150 and $200 if you hire a professional. This price typically includes both the replacement parts and the labor required to safely install them.
If you decide to tackle the project yourself, the cost drops significantly. Purchasing a high-quality replacement cable kit will usually cost between $15 and $30. However, you must factor in the cost of specialized tools if you do not already own them.
Here is a quick cost comparison to help you visualize the financial differences:
| Repair Method | Average Cost | What is Included? |
|---|---|---|
| Professional Service | $150 – $200 | Parts, labor, safety inspection, and warranty. |
| DIY Replacement | $15 – $30 | Parts only (cables and possibly new drums). |
| Cables + Springs | $250 – $350 | Pro replacement of both cables and torsion springs. |
Note: If your cables broke due to a failing spring, you will need to replace both components simultaneously to prevent immediate re-breakage.
What Factors Affect Garage Door Cable Replacement Prices?
Several variables can cause the final price to fluctuate. Understanding these factors will help you anticipate the true cost of your overhead door maintenance.
- Door Size and Weight: A standard single-car door requires lighter cables, while a heavy double-car or custom wooden door requires thicker, more expensive heavy-duty cables.
- Cable Type: Most homes use standard lifting cables. However, if your door lacks extension springs, you might also need safety containment cables, which add to the material cost.
- Material Quality: Galvanized steel aircraft cables are the industry standard. Opting for premium, corrosion-resistant marine-grade cables will increase your parts cost.
- Geographic Location: Labor rates vary wildly. A technician in a major metropolitan area like New York or San Francisco will charge significantly more per hour than one in a rural midwestern town.
Should You DIY or Hire a Professional?
Deciding whether to grab your tools or call an expert is a major crossroads. Garage doors are the largest moving objects in your home, and the components are under extreme tension.
According to the International Door Association (IDA), attempting to replace high-tension garage door components without proper training accounts for thousands of injuries annually. For a broader understanding of how these complex systems operate, you can review the mechanical principles of a garage door and its various components.
Here is a breakdown of the advantages and disadvantages of each approach:
Pros and Cons of Hiring a Professional
- Pros: Guaranteed safety, proper tension calibration, includes a service warranty, and saves you hours of frustrating labor.
- Cons: Higher upfront cost and requires scheduling an appointment.
Pros and Cons of DIY Replacement
- Pros: Extremely low material cost and the satisfaction of fixing it yourself.
- Cons: High risk of severe injury from snapping springs, requires buying specialized winding bars, and no warranty on the labor.
How to Replace Garage Door Cables Step-by-Step
Disclaimer: If your door uses extension springs, the process is slightly different and generally safer. This tutorial focuses on the more common and highly dangerous torsion spring system.
If you have the proper tools and experience, here is the exact process.
Step 1: Disconnect the Power and Secure the Door Unplug your automatic garage door opener. Pull the red emergency release cord to disconnect the trolley. Close the door completely and secure it to the tracks on both sides using heavy-duty C-clamps placed just below the bottom rollers.
Step 2: Release the Spring Tension This is the most dangerous step. Insert two 3/8-inch solid steel winding bars into the winding cone holes. Loosen the set screws with a 9/16-inch wrench. Slowly and carefully lower the tension by removing one bar at a time until the springs are completely loose. Never use screwdrivers, as they can slip and cause severe injury.
Step 3: Remove the Old Cables Once the springs are completely devoid of tension, unwrap the old cables from the center cable drums. Unhook the bottom of the cables from the bottom roller brackets.
Step 4: Install the New Cables Take your new 21-foot galvanized steel aircraft cable. Thread the bottom end through the hole in the bottom roller bracket and secure it with a tight knot or a cable crimp.
Step 5: Wind the Cables onto the Drums Pull the cable up and wrap it tightly around the center drum. Ensure the cable sits in the correct grooved track on the drum. You typically need 4 to 5 tight wraps around the drum before the cable reaches the bottom bracket.
Step 6: Re-tension the Springs Insert your steel winding bars back into the cone. Tighten the set screws. Wind the springs back to their proper tension. For a standard 7-foot tall door, this usually requires exactly 30 quarter-turns.
Step 7: Test the Balance Remove the C-clamps from the tracks. Reconnect the opener. Pull the release handle to operate the door manually. The door should lift smoothly with minimal effort and stay open about 3 to 4 feet off the ground when released.
Expert Tips to Extend Your Garage Door Cable Lifespan
To avoid facing these replacement costs too frequently, proactive maintenance is your best friend.
- Lubricate Properly: Apply a lithium-based garage door grease to the cables and springs twice a year. Avoid standard WD-40, as it is a degreaser and will actually dry out the metal components.
- Keep Tracks Clean: Wipe down the metal tracks with a damp cloth every six months. Dirt and debris can cause the rollers to jump, putting uneven stress on the cables.
- Visual Inspections: Once a month, look closely at the cables. If you notice any fraying, rust, or individual wire strands sticking out, replace them immediately before they snap completely.
Frequently Asked Questions
1. Can I replace just one garage door cable?
While it is physically possible to replace only the broken side, industry experts highly advise against it. Cables wear down at the same rate. If one snapped from age, the other is likely on the verge of failing. Replacing both simultaneously ensures balanced tension and saves you from paying for labor twice.
2. How long do garage door cables last?
The lifespan of a garage door cable is directly tied to the lifespan of your springs. On average, standard cables are rated to last for about 10,000 cycles (one cycle equals opening and closing the door). For an average household, this translates to roughly 7 to 10 years of regular use.
3. What are the signs that my garage door cables need replacing?
You should look out for several warning signs. These include visible fraying or rust on the wires, a noticeable gap between the cable and the drum, or a door that appears crooked when opening. If you hear a loud “bang” from the garage, a cable or spring has likely just snapped.
4. Is it dangerous to replace garage door cables myself?
Yes, it can be extremely dangerous if you are not properly trained. The torsion springs that work in tandem with the cables store massive amounts of kinetic energy. Improper handling of the winding bars can cause them to slip, leading to broken bones or severe lacerations. If you are a beginner, hiring a professional is strongly recommended.
5. Does homeowners insurance cover broken garage door cables?
Generally, no. Homeowners insurance considers broken cables and springs to be a result of normal wear and tear, which is excluded from standard policies. However, if the cables were snapped due to a covered peril—like a fallen tree or a severe windstorm—your insurance might cover the repair costs.
Conclusion
Understanding how much does it cost to replace garage door cables empowers you to make a smart, budget-friendly decision for your home. Whether you choose to spend $20 on DIY parts or $200 for a professional’s peace of mind, addressing this issue promptly keeps your family safe and your daily routine uninterrupted. Regular lubrication and visual inspections will go a long way in preventing sudden breakdowns.
Leave a Reply