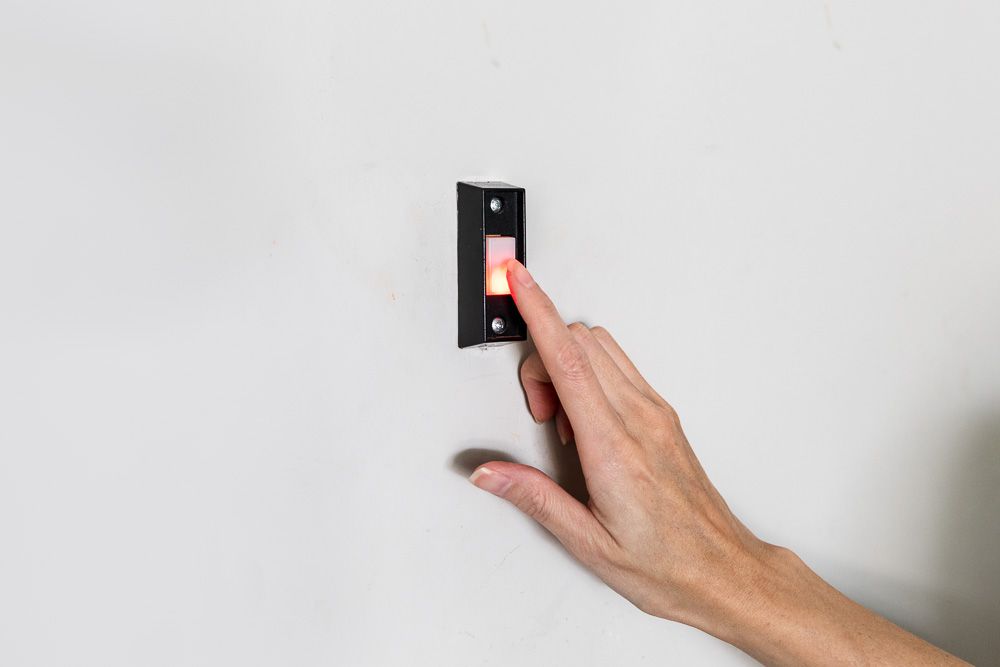
Is your garage door will not open or close with wall switch? You’re not alone. This frustrating issue affects thousands of homeowners every month, leaving them stuck outside or unable to secure their garage. Whether you’re rushing to work or trying to park your car before dinner, a malfunctioning wall switch can disrupt your entire day. The good news? Most causes are simple to diagnose and fix without calling an expensive technician.
In this comprehensive guide, we’ll walk you through everything you need to know about troubleshooting wall switch problems. From basic checks to advanced repairs, you’ll learn how to restore functionality safely and efficiently. Let’s get your garage door working again.
Why Won’t My Garage Door Respond to the Wall Switch?
Before diving into solutions, it’s essential to understand why this happens. The wall switch is the most direct control point for your garage door opener system. When it fails, the problem usually stems from one of these common causes:
- Power supply issues (dead outlet, tripped breaker)
- Wiring problems (loose, damaged, or disconnected wires)
- Switch malfunction (worn-out buttons, internal failure)
- Opener unit errors (logic board issues, sensor misalignment)
- Safety sensor obstruction (blocked infrared beams)
According to the International Door Association, approximately 60% of garage door service calls involve electrical or control-related issues rather than mechanical failures. Understanding this helps you prioritize troubleshooting steps effectively.
Step 1: Check the Power Supply First
The simplest explanation is often the correct one. Before assuming your switch is broken, verify that power is reaching the system.
Follow these steps:
- Test the outlet: Plug a lamp or phone charger into the same outlet powering your garage door opener. If it doesn’t work, the outlet is dead.
- Check the circuit breaker: Locate your home’s electrical panel and look for any tripped breakers labeled “garage” or “opener.” Reset if necessary.
- Inspect the GFCI outlet: Many garage outlets have Ground Fault Circuit Interrupter protection. Press the “Reset” button if it has popped out.
- Verify the opener’s power light: Most units have an LED indicator. If it’s off, the opener isn’t receiving power.
Pro Tip: If the outlet works but the opener remains unresponsive, the issue likely lies elsewhere in the system.
Step 2: Inspect the Wall Switch Wiring
Loose or damaged wiring is one of the most frequent culprits behind unresponsive wall switches. Over time, vibrations from the garage door’s movement can cause connections to loosen.
Here’s what to do:
- Turn off power at the breaker before handling any wires. Safety first!
- Remove the switch cover plate using a screwdriver.
- Check wire connections: Ensure all wires are securely attached to their terminals. Look for signs of corrosion, fraying, or burn marks.
- Test continuity: If you have a multimeter, check for electrical continuity between the switch terminals when pressing the button. No continuity means the switch is faulty.
If wires appear damaged, replace them with 18–22 gauge stranded wire rated for low-voltage applications. Never use solid-core wire, as it breaks easily under vibration.
Step 3: Test or Replace the Wall Switch
Sometimes the switch itself is the problem. Buttons wear out after years of use, or internal components fail.
How to test:
- Bypass the switch: Temporarily connect the two wires leading to the switch directly together (with power off, then restore power). If the door operates, the switch is defective.
- Replace the switch: Purchase a compatible replacement from a hardware store or online retailer. Installation typically takes 10–15 minutes.
| Switch Type | Cost Range | Lifespan | Difficulty |
|---|---|---|---|
| Basic Push Button | $5–$15 | 5–10 years | Easy |
| Digital Keypad | $20–$50 | 7–12 years | Moderate |
| Smart Switch | $30–$80 | 5–8 years | Moderate-Hard |
For more information on garage door components, visit Wikipedia’s page on garage door openers.
Step 4: Examine the Opener Unit and Logic Board
If the switch and wiring check out, the problem may reside in the opener unit itself. Modern openers contain logic boards that process signals from all control devices.
Signs of logic board issues:
- No response from any control method (remote, keypad, wall switch)
- Intermittent operation
- Unusual clicking sounds from the motor unit
- Error codes displayed on LED indicators
Troubleshooting steps:
- Perform a hard reset: Unplug the opener for 30 seconds, then plug it back in. This clears temporary glitches.
- Check for error codes: Consult your owner’s manual to interpret blinking LED patterns.
- Inspect capacitors: Look for bulging or leaking capacitors on the logic board. These indicate component failure.
If the logic board is damaged, replacement costs range from $50 to $150, depending on the model. For older units (10+ years), consider replacing the entire opener instead.
Step 5: Verify Safety Sensor Alignment
Garage doors won’t operate if the safety sensors detect an obstruction. Even slight misalignment can prevent the door from moving.
Quick alignment check:
- Look at the sensor LEDs: Both sensors should have steady green lights. A blinking or amber light indicates misalignment.
- Clean the lenses: Wipe away dust, spider webs, or debris with a soft cloth.
- Adjust the brackets: Loosen the mounting screws slightly and realign the sensors so they face each other directly. Tighten once aligned.
- Test the beam: Place an object between the sensors while attempting to close the door. The door should reverse immediately.
Misaligned sensors account for nearly 25% of garage door malfunctions, according to industry surveys.
Step 6: Reprogram the Wall Switch
After power outages or battery replacements, some openers require reprogramming of control devices.
General reprogramming steps:
- Locate the “Learn” or “Program” button on the opener motor unit.
- Press and release the button (the LED will blink or stay lit).
- Within 30 seconds, press and hold the wall switch button until the opener responds.
- Test the switch multiple times to confirm functionality.
Consult your specific model’s manual, as procedures vary between brands like Chamberlain, LiftMaster, Genie, and Craftsman.
Step 7: Know When to Call a Professional
While many wall switch issues are DIY-friendly, some situations require expert assistance:
- Electrical hazards: If you’re uncomfortable working with wiring, hire a licensed electrician.
- Complex opener failures: Internal motor or gear problems need specialized tools.
- Warranty concerns: Unauthorized repairs may void manufacturer warranties.
- Persistent issues: If problems recur after multiple fixes, underlying systemic issues may exist.
Professional service calls typically cost $75–$150 for diagnostics, plus parts and labor. However, this investment ensures safety and long-term reliability.
Frequently Asked Questions
Q1: Can I use my remote if the wall switch doesn’t work?
A: Yes, in most cases. The remote and wall switch operate independently. If the remote works but the wall switch doesn’t, the issue is isolated to the switch or its wiring. However, if neither works, the problem likely involves the opener unit or power supply.
Q2: How much does it cost to replace a garage door wall switch?
A: A basic replacement switch costs $5–$15. Professional installation adds $50–$100 in labor. If you’re comfortable with basic electrical work, DIY replacement takes 10–15 minutes and saves significantly.
Q3: Why does my garage door work sometimes but not others?
A: Intermittent operation usually indicates loose wiring, a failing switch, or sensor misalignment. Temperature changes can also affect electronic components. Start by tightening all connections and cleaning sensors. If the problem persists, replace the switch.
Q4: Is it safe to bypass the wall switch temporarily?
A: Bypassing the switch by connecting wires directly is safe only for testing purposes and should be done with extreme caution. Always turn off power before touching wires. Never leave a bypassed switch as a permanent solution, as it eliminates convenient control and may violate electrical codes.
Q5: How often should I maintain my garage door system?
A: Perform basic maintenance every 6 months: lubricate moving parts, check sensor alignment, test safety features, and inspect wiring. Annual professional inspections are recommended for older systems or heavy-use garages.
Q6: Will a smart garage door opener solve wall switch problems?
A: Smart openers offer remote monitoring and control via smartphone apps, but they still rely on traditional wall switches for local operation. While they provide redundancy, they don’t eliminate the need for proper switch and wiring maintenance.
Conclusion
Dealing with a garage door will not open or close with wall switch situation doesn’t have to be stressful. By following the systematic troubleshooting steps outlined above—checking power, inspecting wiring, testing the switch, verifying sensors, and knowing when to call a pro—you can resolve most issues quickly and affordably.
Remember, regular maintenance prevents many problems before they start. Take 15 minutes every six months to inspect your system, and you’ll avoid costly emergency repairs down the road.
Found this guide helpful? Share it with friends and family on social media! Someone you know might be struggling with the same issue right now. And if you have additional tips or questions, drop them in the comments below. Let’s help each other keep our garages running smoothly!
Stay safe, stay informed, and keep those garage doors moving!
Leave a Reply