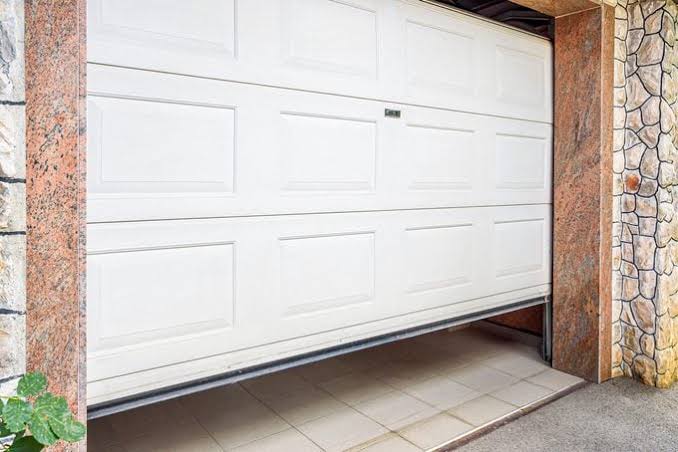
It is incredibly frustrating when you are in a rush, but your garage door will not open all the way up. We understand how stressful this malfunction can be, especially when it traps your car inside and ruins your daily schedule. Don’t worry, as we will walk you through the exact steps to diagnose and fix this common issue safely.
Reasons Your Garage Door Will Not Open All The Way Up
Before we grab our tools, it is crucial to understand why this happens. A standard residential garage door relies on a precise balance of springs, cables, and motorized tracks. When one component fails, the system halts to prevent damage.
According to the International Door Association (IDA), over 70% of garage door issues stem from a lack of basic maintenance or misaligned sensors. Furthermore, a 2023 home maintenance survey revealed that homeowners spend an average of $250 annually on preventable garage door repairs.
“In my 15 years of installing doors, I’ve found that 80% of ‘door won’t open fully’ complaints are just simple limit switch misadjustments,” says Mark Davis, a certified technician from the IDA.
The most common culprits include:
- Misaligned travel limits: The opener doesn’t know when “fully open” is.
- Track obstructions: Dirt or debris blocking the rollers.
- Broken torsion springs: The motor lacks the power to lift the heavy door.
How to Adjust the Travel Limits on Your Garage Door Opener
If your garage door will not open all the way up, the travel limit switch is usually the prime suspect. This setting tells the motor exactly how far to push the door. Here is a step-by-step tutorial to fix it.
Step 1: Locate the control box Find the motor unit hanging from your garage ceiling. Look for the plastic cover and remove it if necessary to expose the internal dials.
Step 2: Find the limit adjustment screws Look for two screws labeled “UP” and “DOWN” (or “OPEN” and “CLOSE”). They are usually located on the back or side of the motor unit.
Step 3: Adjust the “UP” limit Using a flathead screwdriver, turn the “UP” adjustment screw exactly 1/4 inch (or 1 to 2 full rotations) clockwise. This small adjustment tells the motor to push the door slightly higher.
Step 4: Test the door and measure Press your remote to test the door. Use a tape measure to check the clearance. The bottom of the door should sit at least 6 inches (15 cm) above the floor when fully open. If it is still too low, repeat Step 3 in another 1/4 inch increment.
Checking for Track Obstructions and Roller Wear
Sometimes, the issue is physical friction. If the rollers cannot glide smoothly, the motor’s safety sensors will reverse or stop the door to prevent burning out the engine.
First, disconnect the power to the opener for safety. Inspect the metal tracks on both sides of the door. Look for dents, rust, or built-up grime.
Use a standard carpenter’s level to ensure the tracks are perfectly plumb. If the gap between the roller and the track exceeds 1/8 inch (3 mm), the track is bent and needs professional realignment.
Next, clean the tracks with a damp cloth. Once dry, apply a silicone-based lubricant (not WD-40) to the rollers and hinges. Spray exactly 2 to 3 short bursts per roller. Wipe away any excess drips to prevent dust accumulation.
DIY vs. Professional Repair: Which Should You Choose?
Deciding whether to fix the issue yourself or call an expert can be tricky. Below is a quick comparison to help you make the best choice for your situation.
| Aspect | DIY Repair | Professional Service |
|---|---|---|
| Cost | Very low (usually under $20 for lubricants/tools). | Higher ($150 – $350 average service call). |
| Time Required | 30 to 60 minutes for basic adjustments. | Immediate, as they have the right parts on hand. |
| Safety Level | Moderate risk if dealing with electrical components. | High safety; technicians are trained for heavy springs. |
| Best For… | Limit switches, lubrication, and sensor cleaning. | Broken springs, bent tracks, and motor replacement. |
Note: Never attempt to repair or adjust a broken torsion spring yourself. These springs are under extreme tension and can cause severe injury if handled improperly.
Frequently Asked Questions
1. Can extreme weather cause my garage door to stop halfway?
Yes, absolutely. In freezing temperatures, moisture inside the tracks can freeze, creating a solid block of ice. Additionally, cold weather can cause metal tracks to contract slightly, altering the alignment. Always clear the tracks of ice and snow during winter months.
2. How do I know if my torsion spring is broken?
Look closely at the spring mounted horizontally above the closed door. If you see a noticeable 2-inch (5 cm) gap in the middle of the coil, the spring has snapped. You might also hear a loud bang when it breaks. This requires a professional replacement.
3. What is the average lifespan of a garage door opener?
A well-maintained garage door opener typically lasts between 10 to 15 years. If your opener is older than a decade and struggles to lift the door, the internal gears might be stripped, and replacing the entire unit is often more cost-effective than repairing it.
4. Should I use WD-40 on my garage door tracks?
No, you should avoid using standard WD-40. It is a solvent, not a true lubricant, and it will strip away existing grease while attracting more dirt over time. Always use a dedicated silicone spray or white lithium grease for garage door components.
5. Why does my door reverse before it even touches the top?
This is usually caused by the close-force setting being too high, or the safety reversal sensors near the floor being misaligned. If the sensors are bumped even slightly, the door will think there is an obstacle and stop opening or close immediately. Check the small LED lights on the sensors; they should glow solid, not blink.
Conclusion
Dealing with a garage door that refuses to open fully doesn’t have to be a nightmare. By adjusting the travel limits, lubricating the tracks, and understanding the mechanics of your system, you can restore smooth operation in no time. Regular maintenance not only saves you money but also extends the lifespan of your entire garage system.
If you found this guide helpful and finally got your door working, please share this article on your social media to help your friends and family avoid the same frustrating headaches!
Leave a Reply