Introduction
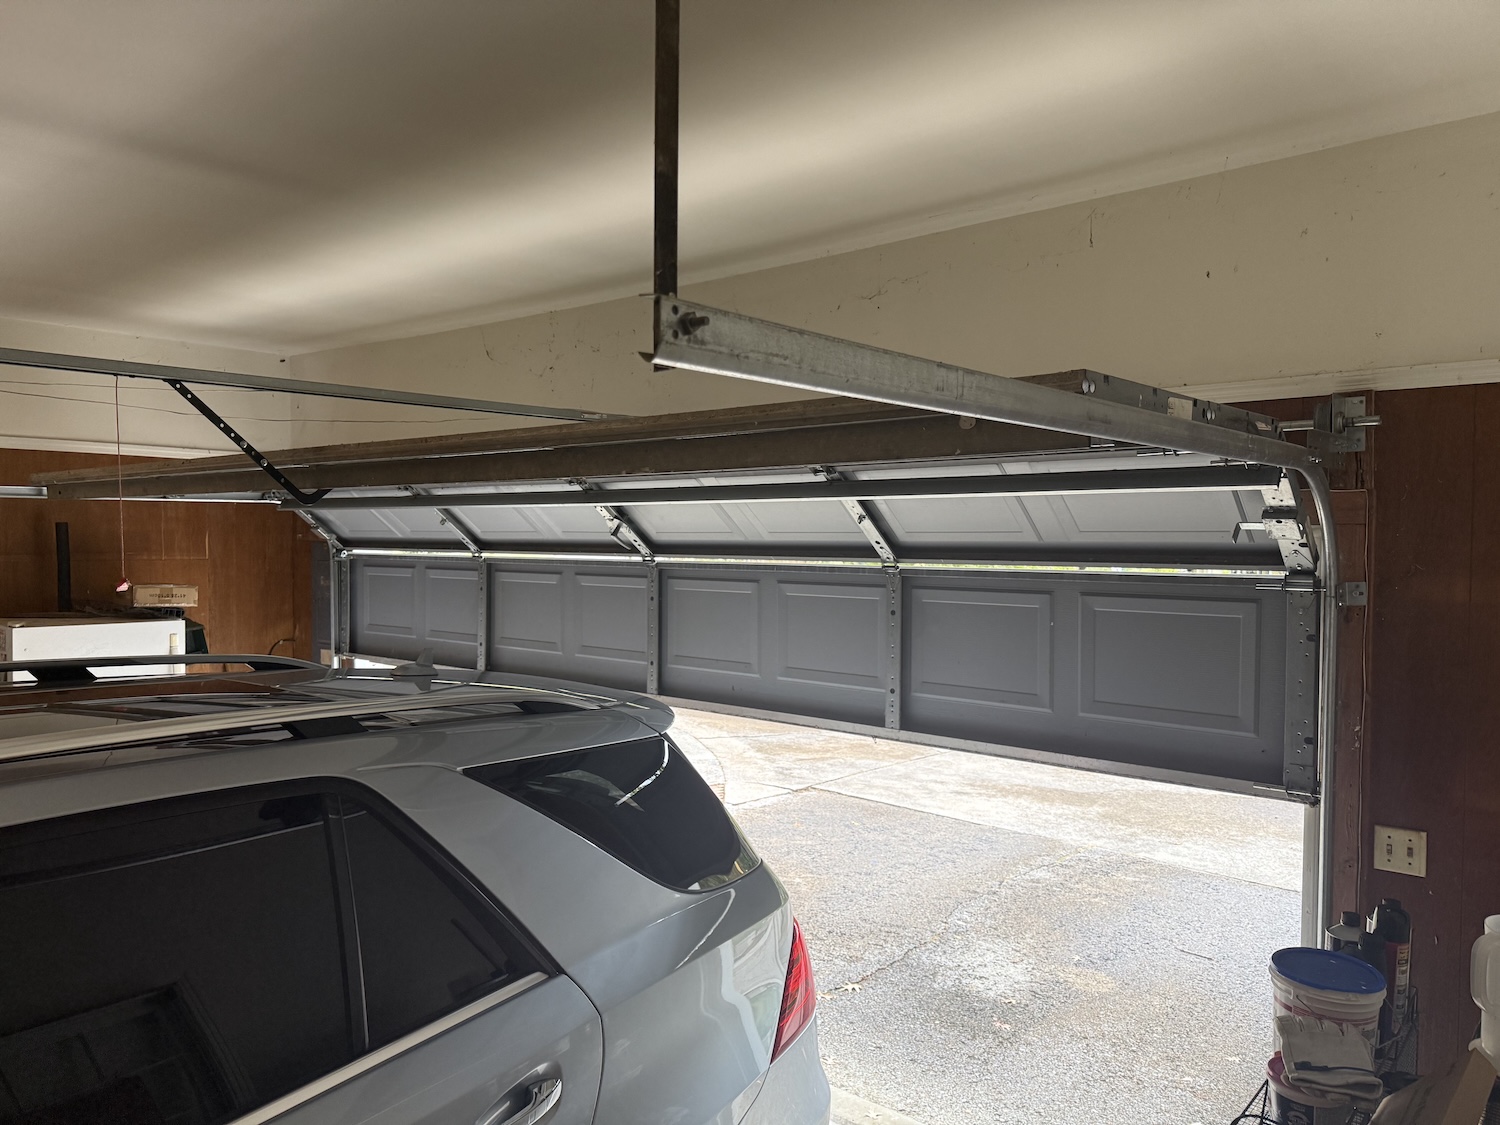
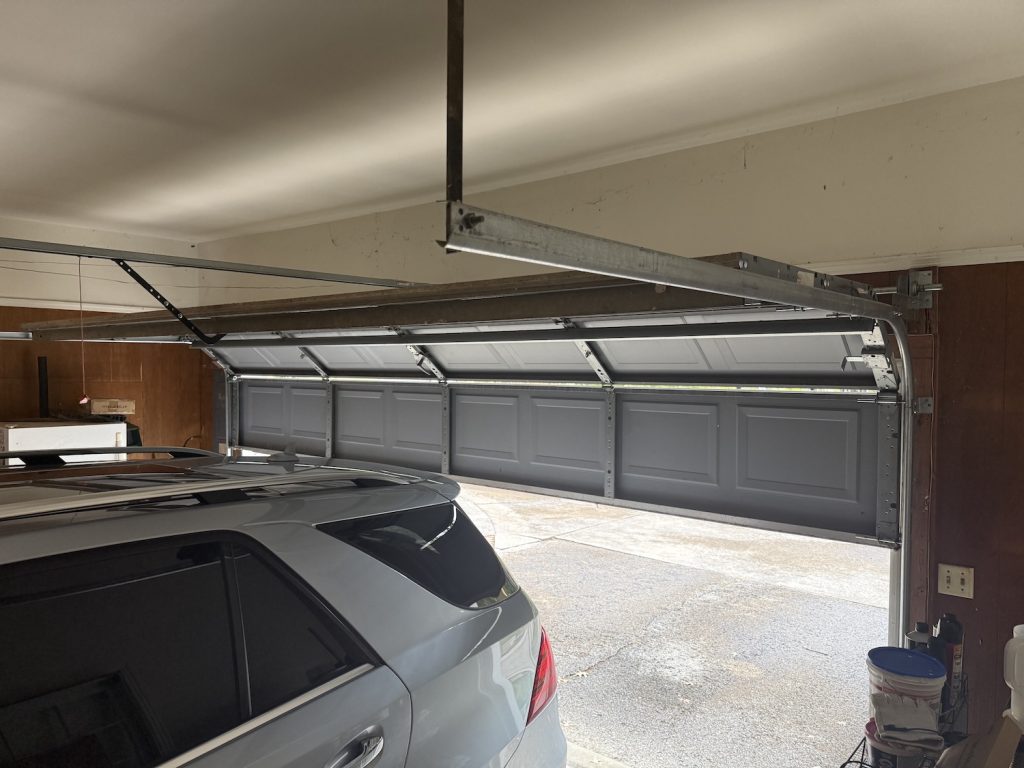
It is incredibly frustrating when you arrive home after a long day, press your remote, and watch your door start to close only to reverse immediately back up. If you find that your garage door will not go down without holding button, you are likely dealing with a triggered safety feature rather than a broken motor. This guide will help you diagnose and fix this common issue quickly, saving you the cost of a professional service call and restoring your home’s security.
Why Your Garage Door Will Not Go Down Without Holding Button
Before we dive into the tools, it is essential to understand why this is happening. Since 1993, federal law has required all garage door openers to have an automatic reverse feature. This system relies on “photo-eye” sensors located near the floor on both sides of the door.
When you hold the interior wall button, you are engaging a “forced close” mode. This feature tells the motor to ignore the sensor beam and close the door anyway, relying on the mechanical force sensor to stop if it hits an object. If the door closes only when you hold the button, it confirms that your motor is working fine, but the safety sensors are detecting a blockage, misalignment, or error.
According to industry data, misaligned sensors account for over 70% of all garage door service calls. The good news? This is usually a 5-minute fix that requires no special skills.
Top 3 Culprits Behind the Reversal
To solve the problem, we must identify the root cause. Here are the most common reasons your system is refusing to close automatically.
1. Misaligned Safety Sensors (The Most Common Issue)
The two sensors (one sending an infrared beam, the other receiving it) must face each other perfectly. If one is bumped by a lawnmower, a bicycle, or even a strong wind, the beam breaks. When the receiver doesn’t see the light from the sender, it assumes an object is in the door’s path and reverses the door.
- Symptom: The LED light on the receiving sensor is blinking or off completely.
2. Dirty or Obstructed Lenses
Over time, dust, spider webs, mud splashes, or condensation can cover the small plastic “eyes” of the sensors. Even a thin layer of grime can scatter the infrared beam enough to break the connection.
- Symptom: The lights might be steady, but the door still reverses, or the lights flicker in bright sunlight.
3. Sunlight Interference
It sounds strange, but bright direct sunlight can actually “blind” infrared sensors. If your garage faces east or west and the sun hits the sensors directly at a specific time of day, the ambient infrared light can overpower the sensor beam.
- Symptom: The door works fine at night or on cloudy days but fails during sunrise or sunset.
Step-by-Step Guide to Fix the Issue
Follow these concrete steps to troubleshoot and repair the issue. You will need a stepladder, a soft cloth, and perhaps a screwdriver.
Step 1: Inspect the LED Lights
Look at the two small sensor units located on the tracks near the floor (about 6 inches up).
- Sending Unit (Usually Green or No Light): This unit has the transmitter.
- Receiving Unit (Usually Red or Amber): This unit tells you if it “sees” the beam.
- If the light is OFF: Check for power. Ensure the wires are connected to the back of the motor unit. Check for a cut wire (squirrels love these wires).
- If the light is BLINKING: The sensors are misaligned or there is an obstruction.
- If the light is STEADY: The alignment is good, but the door might still have a “travel limit” issue (see Step 4).
Step 2: Clean the Lenses
Take a soft, dry microfiber cloth and gently wipe the lenses of both sensors. Ensure there are no spider webs between the sensors and the light path.
- Pro Tip: Check the area between the sensors. Even a stray cobweb can diffract the beam enough to cause an error.
Step 3: Realign the Sensors
This is the most critical step. Loosen the wing nut or bolt holding the sensor bracket.
- Move the sensor slowly until the LED on the receiving side stops blinking and glows solidly.
- The Level Test: Place a small bubble level on top of both sensors. They should be perfectly level with each other.
- The Tape Measure Test: Measure from the floor to the center of both sensors. They should be at the exact same height (typically 4–6 inches).
- Tighten the bracket carefully without moving the sensor.
Note: For more technical details on the history and mechanism of these safety devices, you can refer to the Garage door entry on Wikipedia.
Step 4: Check for “Sun Blindness”
If the door works at night but fails in the evening, sunlight is the culprit.
- The Fix: Create a small cardboard shield (like a hat) over the receiving sensor to cast a shadow on it. If the door closes with the cardboard hat, you need to relocate the sensors or install sun shields.
Step 5: Adjust Travel Limits (If Sensors are Green/Solid)
If your sensors are aligned perfectly (solid lights) but the door still won’t close without holding the button, your “Down Limit” might be set incorrectly, or the “Down Force” is too low.
- Locate the adjustment screws on the back or side of the motor unit (labeled “Down Limit” and “Down Force”).
- Down Limit: Turn the screw slightly in the direction of the arrow. This tells the door it needs to travel further down.
- Down Force: If the door reverses immediately upon touching the floor, increase the force slightly (usually less than a quarter turn). Warning: Do not set this too high, or the door becomes dangerous.
Comparison: DIY vs. Professional Repair
Is it worth calling a pro? Use this table to decide.
| Feature | DIY Repair | Professional Service |
|---|---|---|
| Cost | $0 (Free) | $100 – $250 (Service call fee) |
| Time | 15–30 Minutes | 1–3 Days (Scheduling wait) |
| Difficulty | Low (Cleaning/Aligning) | Medium (Wiring/Motor repair) |
| Risk | Low (Ladder safety) | None (Insured technician) |
| Best For | Sensor alignment, cleaning | Broken springs, motor replacement |
Verdict: If the issue is sensor alignment or dirt, do it yourself. It is simple and free. If the lights on the sensors are completely dead and you have checked the wiring, you may need a professional to replace the sensor kit or logic board.
Frequently Asked Questions (FAQ)
1. Why does holding the wall button make the door close? Holding the wall button activates a “forced close” feature. This bypasses the external sensor beam (the safety eyes) but keeps the internal mechanical reverse feature active. It is designed for use when you know the sensors are blocked (e.g., by snow) but you still need to secure the garage.
2. Can I permanently disable the sensors so the door closes? No. It is illegal and highly dangerous to bypass the safety sensors. They are there to prevent the door from crushing a child, pet, or car. If they are malfunctioning, they must be repaired or replaced, not disabled.
3. My sensors are glowing solid, but the door still won’t close. Why? If the lights are solid but the door reverses, check for “invisible” obstructions. Strong sunlight can interfere with the beam. Also, check the wiring connecting the sensors to the motor; a loose staple or pinched wire can cause intermittent failure.
4. How do I know if the sensor wire is broken? You can use a multimeter to check for continuity. However, a simpler test is to temporarily run a new 2-strand bell wire from the motor to the sensors. If the door works with the new wire, your old wire is broken inside the insulation and needs replacement.
5. Is it safe to adjust the “Force” settings? Yes, but proceed with caution. The force setting determines how much resistance the door tolerates before reversing. If set too high, the door could crush an object. Adjust in small increments (1/8th of a turn) and test the “reverse test” (place a 2×4 piece of wood on the floor; the door should reverse immediately upon touching it).
Conclusion
Dealing with a garage door will not go down without holding button is a common annoyance, but it is rarely a sign of a catastrophic failure. In most cases, the issue is simply a dirty lens or a sensor that has been bumped out of alignment. By following the steps above—cleaning the eyes, realigning the brackets, and checking for sunlight interference—you can restore full automatic functionality to your door in minutes.
Did this guide save you a service call fee? Please share this article on your social media or with a neighbor who might be struggling with their garage door today!
Disclaimer: Always prioritize safety. Disconnect the power to the garage door opener before touching any wiring, and ensure the area is clear of children and pets during testing.
Leave a Reply