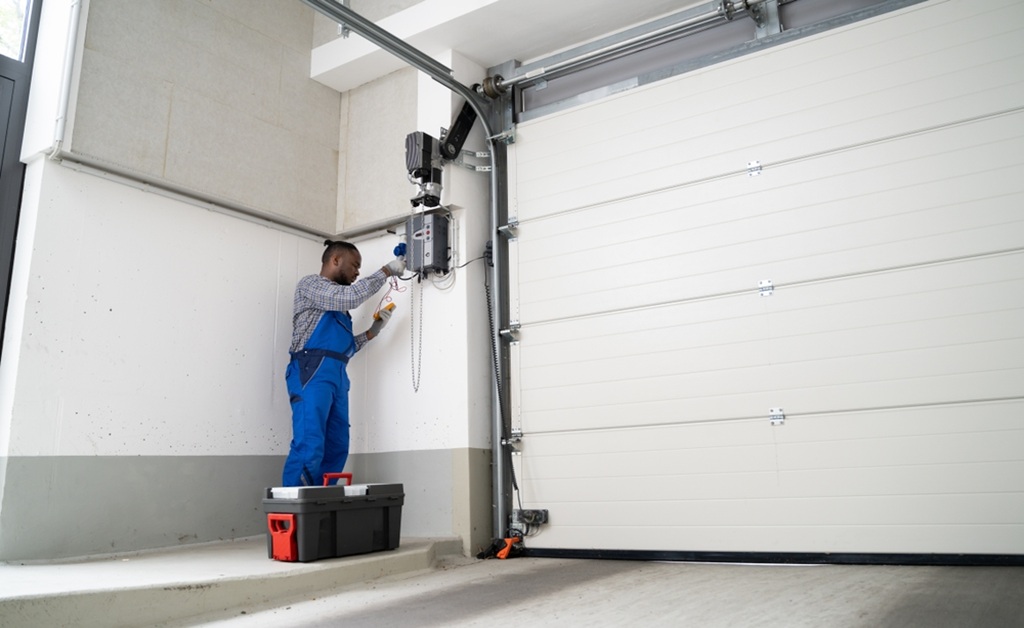
Have you ever pressed the button to close your garage door, only to watch it descend a few inches and immediately reverse back up? It is a frustrating experience that disrupts your daily routine and raises immediate safety concerns. If your garage door starts to close and then goes back up, you are not alone; this is one of the most common issues homeowners face, often triggered by minor obstructions or misalignments rather than major mechanical failures.
In this guide, we will walk you through the exact steps to diagnose and fix this problem safely. By understanding the underlying mechanisms, you can save hundreds of dollars on unnecessary service calls and ensure your home remains secure.
Why Does My Garage Door Reverse Immediately?
Before diving into tools and wrenches, it is crucial to understand why this happens. Modern garage door openers, mandated by federal safety standards since 1993, are equipped with auto-reverse mechanisms. These features are designed to prevent injury to people, pets, or damage to vehicles.
When the system detects resistance or an interruption in its safety beam, it assumes an obstacle is in the way. Consequently, it reverses direction to prevent crushing whatever is below it. While this is a vital safety feature, false positives can occur due to dirt, misalignment, or worn-out components.
According to the Consumer Product Safety Commission (CPSC), proper maintenance of these safety features is critical for household safety. Understanding the balance between safety compliance and mechanical functionality is the first step in troubleshooting.
Check and Clean the Safety Eye Sensors
The most frequent culprit when a garage door starts to close and then goes back up is the photo-eye sensor system. These small devices are located near the floor on both sides of the garage door opening. One sends an invisible beam of light, and the other receives it. If the beam is broken, the door reverses.
Step-by-Step Sensor Inspection:
- Check the Indicator Lights: Look at the small LED lights on each sensor. Typically, one should be solid green (power) and the other solid amber or red (receiving). If the receiving eye is blinking or off, the beam is blocked.
- Clean the Lenses: Use a soft, dry microfiber cloth to gently wipe the lenses. Dust, spider webs, or mud can obstruct the beam. Avoid using harsh chemicals that might leave a residue.
- Verify Alignment: Stand behind the sensors and look down the track. Are they pointing directly at each other? Even a slight bump from a lawn mower or a child’s toy can knock them out of alignment. Loosen the wing nut slightly, adjust the bracket until the light becomes solid, and tighten it back.
- Check for Sunlight Interference: In rare cases, direct sunlight hitting the receiver sensor can overwhelm the infrared signal. If this happens in the late afternoon, try shading the sensor with a piece of cardboard to see if the door closes properly.
Pro Tip: If the wires connecting the sensors are frayed or chewed by pests, the signal may be intermittent. Inspect the wiring along the track for any visible damage.
Inspect the Tracks and Rollers for Obstructions
If your sensors are clean and aligned, the next likely cause is physical resistance in the door’s path. The opener motor monitors the force required to move the door. If it encounters unexpected friction, it interprets this as an obstruction and reverses.
What to Look For:
- Debris in the Tracks: Small stones, twigs, or hardened grease can block the rollers. Use a vacuum cleaner with a hose attachment to remove loose debris.
- Damaged Rollers: Inspect the rollers (the wheels that move along the track). If they are cracked, chipped, or flat-spotted, they will not roll smoothly. Nylon rollers are quieter but can crack; steel rollers are durable but noisy. Replace any damaged rollers immediately.
- Bent Tracks: Look closely at the metal tracks on either side of the door. If they are bent or dented, the rollers will jump or bind. Minor bends can sometimes be tapped back into place with a rubber mallet, but severe damage requires professional replacement.
| Component | Sign of Trouble | Recommended Action |
|---|---|---|
| Photo-Eye Sensors | Blinking LED light | Clean lens and realign brackets |
| Rollers | Cracked or squeaking | Lubricate or replace with nylon rollers |
| Tracks | Visible dents or gaps | Tighten bolts or call a pro for bending |
| Cables | Fraying or loose strands | Do not touch. Call a professional immediately. |
Adjust the Travel Limit and Force Settings
If the mechanical path is clear and sensors are working, the issue may lie in the opener’s internal settings. Over time, the “travel limit” (how far the door goes down) and “force setting” (how much power it uses) can drift out of calibration.
How to Adjust Limits and Force:
- Locate the Adjustment Screws: On most modern openers, you will find two sets of screws or dials on the motor unit. They are usually labeled “Up/Down Limit” and “Force.” Refer to your specific manufacturer’s manual for exact locations.
- Adjust the Down Limit: If the door reverses just before hitting the ground, the down limit may be set too far. Turn the adjustment screw slightly (usually counter-clockwise) to reduce the travel distance. Test the door after each quarter-turn.
- Increase the Close Force: If the door reverses upon touching the ground, the force setting might be too low. Increase the close force incrementally. Warning: Do not set this too high. The door must still reverse if it hits a solid object like a 2×4 piece of wood laid flat on the ground. This is a mandatory safety test.
Safety Note: Always make small adjustments. Changing settings drastically can make the door dangerous or cause it to slam shut.
Examine the Weather Stripping and Floor Seal
Sometimes, the issue is environmental. During hot summer days, weather stripping on the bottom of the door can become soft and sticky. If it adheres to the concrete floor, the motor senses resistance and reverses. Similarly, in winter, ice buildup can create a physical barrier.
Quick Fixes for Weather Resistance:
- Inspect the Bottom Seal: Check if the rubber gasket at the bottom of the door is torn or missing. A damaged seal can catch on uneven pavement.
- Lubricate the Seal: Apply a silicone-based lubricant to the bottom rubber strip. This reduces friction and prevents it from sticking to the floor.
- Clear Ice and Snow: In colder climates, ensure the area where the door lands is free of ice. Use a hair dryer or de-icing spray to clear the path if necessary.
When to Call a Professional Garage Door Technician
While many issues causing a garage door starts to close and then goes back up scenario are DIY-friendly, some problems involve high-tension springs and cables that are extremely dangerous to handle without proper training.
Call a professional if:
- You hear loud banging or snapping noises.
- The torsion springs (the large springs above the door) appear broken or gap-separated.
- The cables are loose, frayed, or have come off the drum.
- You have adjusted the limits and sensors, but the door still behaves erratically.
Garage door springs are under immense tension. A snapped spring can cause severe injury or property damage. According to industry statistics, spring-related accidents are among the most common causes of DIY garage door injuries. Always prioritize safety over cost savings when dealing with high-tension components.
FAQ: Common Questions About Reversing Garage Doors
1. Why does my garage door close halfway and then go back up?
This usually indicates a misaligned safety sensor or an obstruction in the track. Check if the sensor lights are solid. If they are, inspect the tracks for debris or bent sections that might be binding the rollers at that specific height.
2. Can cold weather cause my garage door to reverse?
Yes. Cold temperatures can cause metal tracks to contract and lubricants to thicken, increasing friction. Additionally, ice on the floor can block the door’s path. Lubricating moving parts with a cold-weather suitable silicone spray can help.
3. How do I reset my garage door opener?
To reset most openers, unplug the unit from the power source for 30–60 seconds. Plug it back in. You may need to reprogram your remote controls and keypad afterward. Consult your manual for model-specific reset procedures.
4. Is it safe to bypass the safety sensors?
No. Bypassing safety sensors is illegal in many jurisdictions and extremely dangerous. It removes the primary protection against crushing injuries. Never disable these features to force the door to close.
5. Why does my garage door reverse only when it’s sunny?
Direct sunlight can interfere with the infrared beam of the photo-eye sensors. Try shading the sensors with a small hood or adjusting their angle slightly to block direct sun exposure while maintaining alignment.
6. How often should I maintain my garage door?
Experts recommend a bi-annual inspection and maintenance routine. Lubricate moving parts, check sensor alignment, and test the auto-reverse feature every six months to ensure optimal performance and safety.
Conclusion
Dealing with a garage door starts to close and then goes back up issue can be stressful, but it is rarely a catastrophe. In most cases, a simple cleaning of the safety sensors or a minor adjustment to the travel limits will resolve the problem quickly. By following the steps outlined above, you can restore functionality to your garage door and ensure it operates safely for years to come.
Remember, regular maintenance is key to preventing these issues. Take a few minutes every six months to inspect your tracks, lubricate rollers, and test your safety features. If you found this guide helpful, please share it with your friends and neighbors on social media. Helping others solve their home maintenance headaches builds a stronger, safer community.
Stay safe, and keep those doors moving smoothly!
Leave a Reply