Introduction
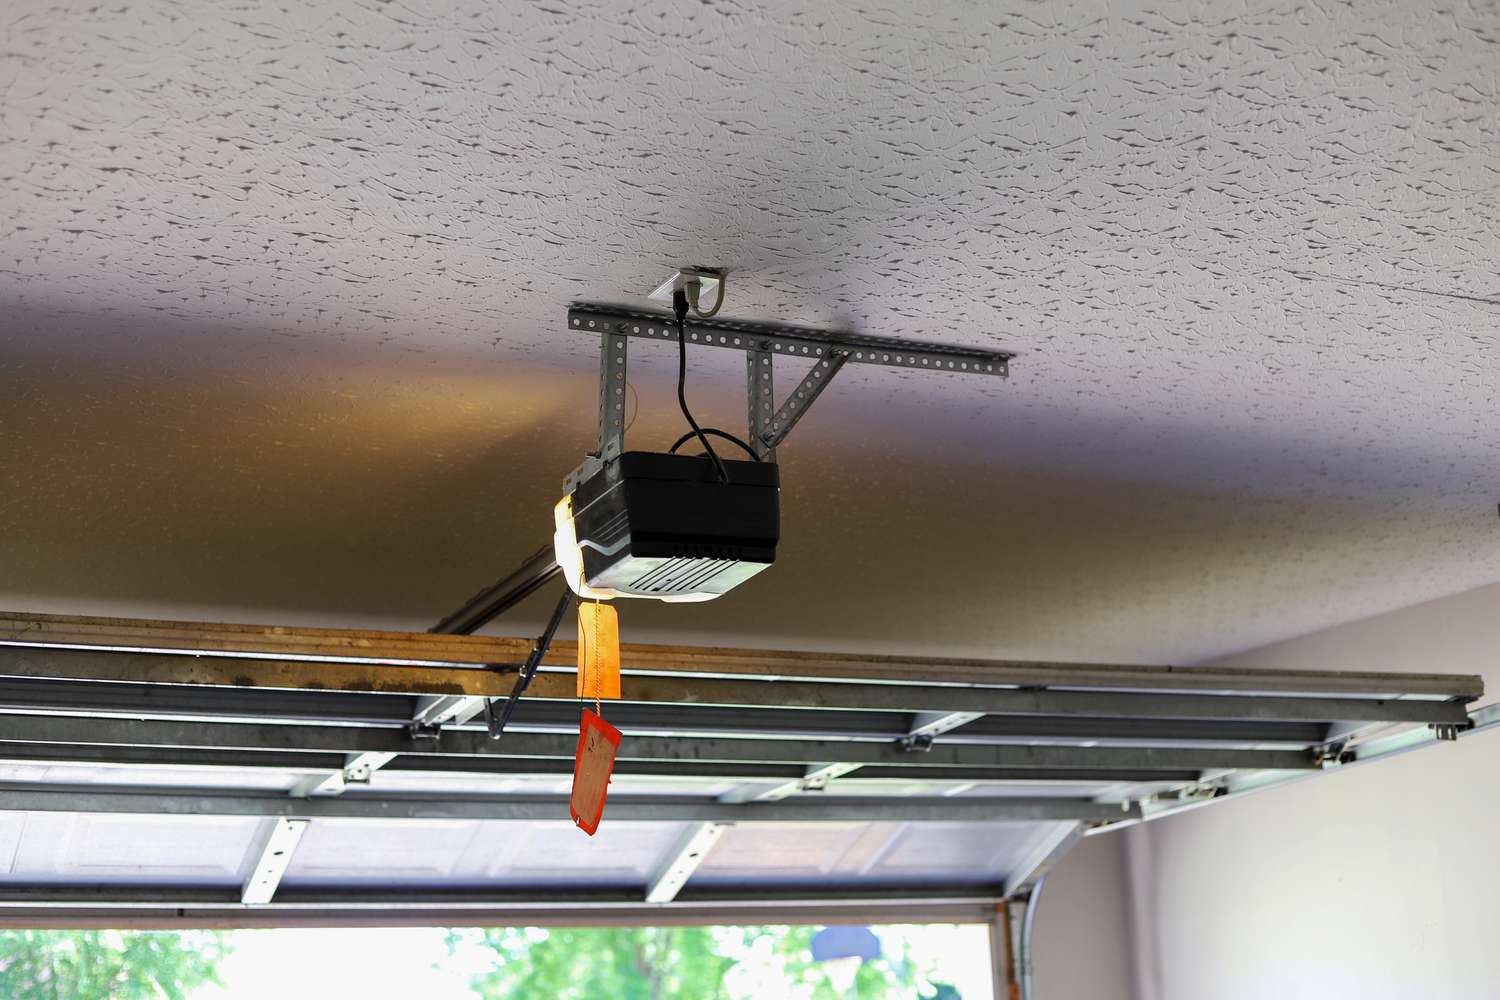
There is nothing quite as frustrating as rushing out the door in the morning, pressing your remote, and hearing… silence. Or worse, seeing the light bulb flicker on, confirming the unit has power, but the motor refuses to engage. If you are dealing with a garage door opener not working but light is on, you are not alone. This is one of the most common household maintenance issues in the United States, affecting millions of homeowners annually.
The good news? In most cases, this is not a catastrophic failure requiring an expensive replacement. It is often a simple safety feature engagement or a minor mechanical blockage. In this guide, we will walk you through systematic, safe, and effective troubleshooting steps to get your garage door moving again. We prioritize safety and clarity, ensuring you can distinguish between a quick DIY fix and a situation that requires professional help.
Why Does the Light Work But the Motor Doesn’t?
Before diving into fixes, it is crucial to understand why this happens. Modern garage door openers are sophisticated machines equipped with multiple safety sensors and logic boards. The fact that the light turns on indicates that the unit is receiving electrical power from your home’s grid. However, the motor circuit is separate from the lighting circuit.
When the motor fails to engage despite having power, it usually means the “brain” of the opener has received a signal to stop. This could be due to misaligned safety eyes, a locked control panel, or a disconnected trolley. Understanding this distinction helps you avoid unnecessary repairs. You do not need a new motor; you likely just need to reset a safety protocol.
Check the Safety Sensors First
The most frequent culprit behind a non-moving garage door is the photo-eye safety sensors. These small devices, located near the floor on either side of the door track, prevent the door from closing if an object (or person) is detected in the path.
How to Inspect and Align Sensors
- Look for Indicator Lights: Most sensors have LED lights. Typically, one sensor emits a beam (often green), and the other receives it (often amber or red). If the receiving eye is blinking or off, the alignment is broken.
- Clean the Lenses: Dust, spiderwebs, or dirt can block the infrared beam. Use a soft, dry cloth to gently wipe both lenses.
- Check Alignment: The sensors must face each other directly. If one has been bumped by a car or a lawn mower, it may be pointing slightly away. Loosen the wing nut, adjust the bracket until the lights stabilize, and tighten it back.
According to the Consumer Product Safety Commission, automatic reverse mechanisms and sensors are critical safety features mandated since 1993. Never bypass these sensors to force the door closed, as this poses a severe risk of injury or property damage.
Verify the Manual Lock Feature
Many homeowners accidentally engage the manual lock feature on their wall control panel. This function disables the remote and external keypad to prevent unauthorized entry while you are home, but it also stops the motor from running.
Steps to Disable the Lock
- Locate your wall-mounted control panel inside the garage.
- Look for a button labeled “Lock” or an icon resembling a padlock.
- Press and hold this button for 2–3 seconds. You should hear a beep or see the light flash, indicating the lock is disengaged.
- Try operating the door again using your remote.
If your wall panel does not have a dedicated lock button, check if there is a “Vacation Mode” or similar setting in the menu if you have a smart opener. Refer to your specific manufacturer’s manual for exact instructions, as interfaces vary between brands like LiftMaster, Chamberlain, and Genie.
Inspect the Emergency Release Cord
Have you recently pulled the red emergency release cord? This cord disconnects the trolley (the part that moves along the rail) from the opener carriage. This is designed for manual operation during power outages. If the cord was pulled and not properly re-engaged, the motor will run, but it will not move the door.
How to Re-engage the Trolley
- Ensure the garage door is fully closed.
- Locate the red handle hanging from the rail.
- Pull the handle toward the motor unit (away from the door) until you hear a distinct click.
- Visually confirm that the lever has moved back into the locked position.
- Test the opener. The motor should now catch the trolley and lift the door.
Note: If the door is heavy, you may need to lift it slightly to relieve tension on the mechanism before re-engaging the lock.
Examine the Remote Control and Batteries
Sometimes the issue is not with the opener itself, but with the signal source. If the wall button works but the remote does not, the problem lies with the remote. If neither works, the issue is likely with the opener’s receiver or logic board.
Troubleshooting the Remote
- Replace Batteries: Even if the remote’s LED light turns on, the voltage may be too low to transmit a strong enough signal to the opener. Replace with fresh alkaline batteries.
- Reprogram the Remote: Interference from neighbors or new electronics can disrupt signals. Delete the old code and reprogram the remote following the manufacturer’s instructions.
- Check for Interference: LED light bulbs in the garage can sometimes emit frequency interference that blocks remote signals. Try turning off the garage lights and testing the remote. If it works, consider switching to shielded LED bulbs designed for garage openers.
Reset the Garage Door Opener
If none of the above steps work, a hard reset can clear temporary glitches in the logic board. This is similar to rebooting a computer when it freezes.
Step-by-Step Reset Guide
- Unplug the garage door opener from the power outlet. If it is hardwired, turn off the circuit breaker for the garage.
- Wait for at least 30 seconds. This ensures all capacitors discharge and memory clears.
- Plug the unit back in or restore power at the breaker.
- Wait for the unit to initialize (usually indicated by a light flash).
- Reprogram your remotes and keypads, as a full reset may erase stored codes.
- Test the door operation.
When to Call a Professional
While many issues are DIY-friendly, some problems involve high-tension springs or complex electrical components that pose significant safety risks. You should contact a licensed garage door technician if:
- The Springs are Broken: Torsion springs store immense energy. A broken spring can cause severe injury if handled incorrectly. If the door feels extremely heavy to lift manually, do not attempt to fix it yourself.
- The Motor Humms but Doesn’t Move: This could indicate a stripped gear inside the motor head. Replacing internal gears requires disassembling the unit and specialized knowledge.
- Electrical Burning Smell: If you smell burning plastic or ozone, unplug the unit immediately. This indicates a short circuit or motor burnout.
- Persistent Sensor Issues: If sensors are aligned and clean but still fail, the wiring may be damaged or the sensor unit itself may be defective.
Cost Comparison: DIY vs. Professional Repair
| Issue | DIY Difficulty | Estimated DIY Cost | Professional Cost |
|---|---|---|---|
| Misaligned Sensors | Easy | $0 | $75 – $150 |
| Dead Remote Battery | Very Easy | $5 | N/A |
| Engaged Lock Mode | Very Easy | $0 | $75 – $150 |
| Broken Torsion Spring | Dangerous | $50 (parts) | $200 – $400 |
| Stripped Gears | Hard | $30 – $50 | $150 – $300 |
Note: Professional costs vary by region and service provider. Always get multiple quotes.
FAQ Section
Q: Can I use my garage door if the sensors are broken?
A: No. For safety reasons, modern openers will not close the door if the sensors are malfunctioning. You can only operate the door in “open” mode using the wall button while holding it down, but this is not recommended for regular use. Fix or replace the sensors immediately.
Q: Why does my garage door open but not close?
A: This is almost always a sensor issue. If the door opens fine but reverses immediately when trying to close, the safety eyes are likely misaligned, dirty, or blocked. Check the indicator lights on the sensors first.
Q: How often should I maintain my garage door opener?
A: Experts recommend a basic inspection every six months. Check the sensors, lubricate the chain or screw drive, and test the auto-reverse feature by placing a 2×4 piece of wood on the floor in the door’s path. The door should reverse upon contact.
Q: Is it safe to reconnect the emergency release cord while the door is open?
A: It is safer to reconnect it when the door is closed. If you must do it while open, ensure you have a firm grip on the door and someone else is present to assist, as the door may drop suddenly if the balance is off.
Q: My opener makes a clicking sound but doesn’t move. What is wrong?
A: A clicking sound usually indicates that the motor is trying to engage but cannot. This is commonly caused by the emergency release being partially disengaged or a stripped plastic gear inside the motor head. Check the release cord first; if it is engaged, you likely need a gear replacement.
Conclusion
Dealing with a garage door opener not working but light is on can be stressful, but it is rarely a disaster. By systematically checking the safety sensors, verifying the lock status, inspecting the emergency release, and testing your remote, you can resolve the majority of these issues without calling a technician. Remember, safety is paramount. Never attempt to repair high-tension springs or internal electrical components unless you are trained to do so.
If you found this guide helpful, please share it with your friends and neighbors on social media. You might just save them from a morning rush-hour headache! Stay safe, and keep your home secure.
Leave a Reply