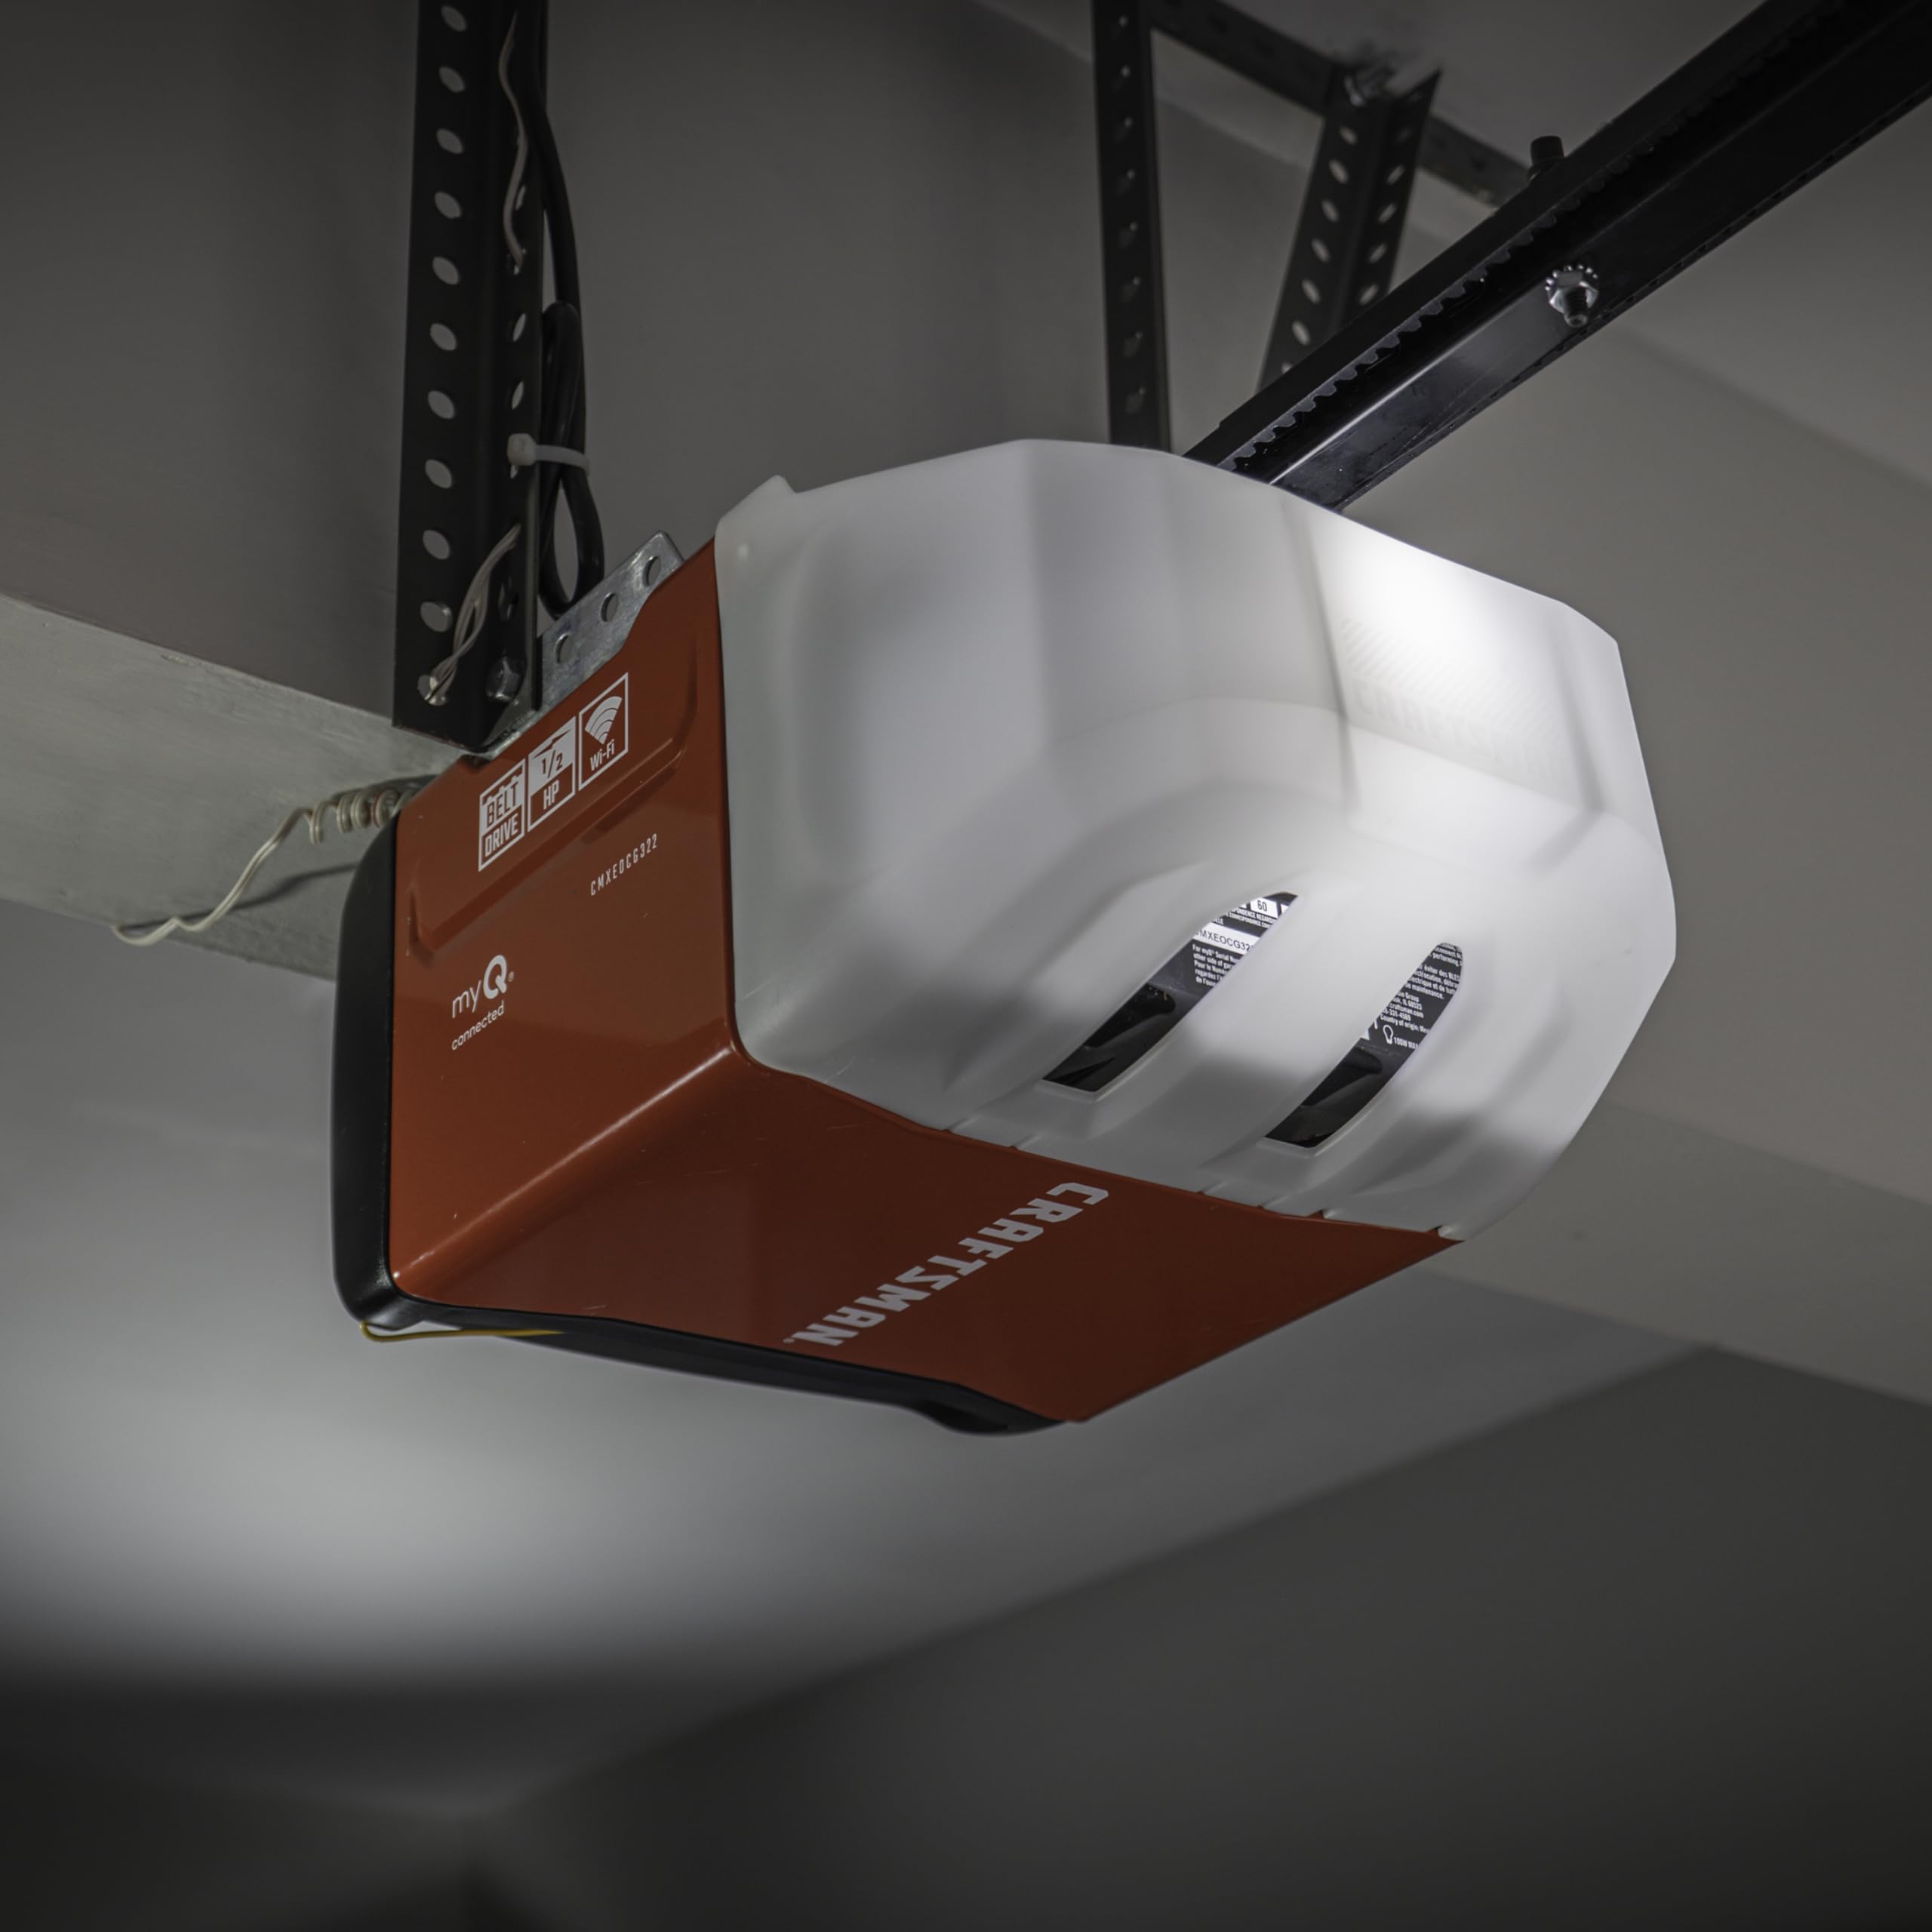
Is your garage door making strange noises or struggling to open smoothly? A worn-out drive belt might be the culprit behind these frustrating issues. Finding the right Craftsman 1/2 HP garage door opener replacement belt can restore quiet, reliable operation to your garage door system without breaking the bank.
Garage door openers are workhorses that endure daily stress, and the drive belt is one of the most critical components that often gets overlooked until it fails. Understanding how to properly identify, select, and install a replacement belt can save you hundreds of dollars in professional service calls while extending the lifespan of your entire garage door system.
Why Does Your Craftsman 1/2 HP Opener Need a New Belt?
The drive belt in your Craftsman 1/2 HP garage door opener serves as the primary connection between the motor and the trolley that moves your garage door. Over time, this rubber or polyurethane component experiences natural wear from constant tension, temperature fluctuations, and repetitive motion cycles.
Most garage door belts last between 7-10 years under normal usage conditions, but several factors can accelerate wear:
- Frequency of use: Homes with multiple cars or frequent comings and goings put extra stress on the belt
- Environmental conditions: Extreme temperatures, humidity, and exposure to chemicals can degrade belt material
- Lack of maintenance: Infrequent lubrication and inspection allow minor issues to become major problems
- Improper tension: Belts that are too tight or too loose wear out faster than properly adjusted ones
According to the International Door Association, garage door systems account for over 30,000 emergency service calls annually in the United States, with drive mechanism failures being among the top five causes. Replacing a worn belt proactively can prevent more expensive repairs down the road.
How to Identify the Correct Replacement Belt for Your Model
Not all Craftsman 1/2 HP garage door openers use the same belt type, so proper identification is crucial before making a purchase. Here’s how to ensure you get the right replacement:
Check Your Model Number
Locate the model number sticker on your garage door opener unit. It’s typically found on the back or side of the motor housing. Common Craftsman 1/2 HP models include:
- 139.536XX series: These older models often use a specific rubber V-belt design
- 139.539XX series: Newer models may use polyurethane belts with different specifications
- CMXZGAR series: Contemporary models feature updated belt designs
Measure Your Existing Belt
If the model number is illegible or unavailable, measure your current belt carefully:
- Length: Measure the total circumference in inches
- Width: Measure the belt width at its widest point
- Thickness: Note the belt thickness, especially if it has a ribbed profile
- Type: Determine if it’s a smooth belt, V-belt, or toothed belt
Cross-Reference with Manufacturer Specifications
Visit the Craftsman official website or consult your owner’s manual to verify belt specifications for your specific model. You can also reference general garage door opener information on Wikipedia’s garage door opener page for broader technical understanding.
Step-by-Step Installation Guide
Replacing your Craftsman 1/2 HP garage door opener belt requires basic tools and careful attention to detail. Follow these steps for a successful installation:
Tools and Materials Needed
- Replacement belt (correct model specification)
- Socket wrench set (typically 7/16″ and 9/16″)
- Screwdriver set (Phillips and flathead)
- Pliers
- Safety glasses
- Work gloves
- Ladder (if needed for access)
Installation Process
Step 1: Safety First Disconnect power to the garage door opener by unplugging it or turning off the circuit breaker. This prevents accidental activation during the repair process.
Step 2: Release Tension Locate the tension adjustment mechanism on your opener. Most Craftsman models have a spring-loaded tensioner that needs to be released before removing the old belt. Use pliers to carefully release the tensioner arm.
Step 3: Remove the Old Belt Slide the worn belt off the motor pulley and trolley pulley. Inspect both pulleys for wear, damage, or debris buildup. Clean them thoroughly with a dry cloth before installing the new belt.
Step 4: Install the New Belt Route the new belt around both pulleys following the same path as the original. Ensure the belt sits properly in any grooves or tracks. Double-check that the belt isn’t twisted or misaligned.
Step 5: Adjust Tension Re-engage the tensioner mechanism and adjust according to manufacturer specifications. The belt should have slight give when pressed firmly but shouldn’t sag excessively. Refer to your owner’s manual for specific tension requirements.
Step 6: Test Operation Restore power and test the garage door operation. Listen for unusual noises and observe the door’s movement. The door should open and close smoothly without jerking or hesitation.
Belt Material Comparison: Rubber vs. Polyurethane
When selecting a replacement belt, you’ll encounter two primary material options. Each has distinct advantages and considerations:
| Feature | Rubber Belts | Polyurethane Belts |
|---|---|---|
| Cost | Generally less expensive | Typically 20-30% more expensive |
| Durability | Good resistance to wear | Superior longevity and stretch resistance |
| Noise Level | Quieter operation | Slightly louder but still acceptable |
| Temperature Resistance | Moderate performance | Better performance in extreme temperatures |
| Maintenance | Requires regular inspection | Lower maintenance requirements |
| Availability | Widely available | May require special ordering |
For most residential applications, polyurethane belts offer better long-term value despite the higher initial cost. They resist stretching better than rubber belts, maintaining proper tension longer and reducing the need for frequent adjustments.
Common Problems and Troubleshooting Tips
Even with proper installation, you might encounter issues during or after belt replacement. Here are solutions to common problems:
Problem: Belt slips during operation
- Solution: Check tension adjustment and ensure pulleys are clean and undamaged. Verify the belt size matches specifications exactly.
Problem: Excessive noise after replacement
- Solution: Inspect belt alignment and check for proper seating in pulley grooves. Lubricate pulley bearings if necessary.
Problem: Door operates unevenly
- Solution: Verify belt tension is equal on both sides (if applicable). Check that the trolley moves freely along the rail.
Problem: Belt wears out quickly
- Solution: Investigate underlying issues such as misaligned pulleys, excessive door weight, or improper installation technique.
Preventive Maintenance for Extended Belt Life
Proper maintenance can significantly extend the life of your new replacement belt and prevent premature failure:
- Monthly inspections: Visually check belt condition, tension, and alignment
- Quarterly cleaning: Wipe down pulleys and remove debris buildup
- Annual lubrication: Apply appropriate lubricant to pulley bearings and moving parts
- Seasonal adjustments: Check tension during temperature extremes, as materials expand and contract
FAQ Section
Q: How often should I replace my Craftsman garage door opener belt?
A: Most belts last 7-10 years under normal conditions, but inspect annually for signs of wear. Replace immediately if you notice cracking, fraying, or significant stretching.
Q: Can I use a universal belt instead of the OEM replacement?
A: While universal belts may fit physically, they often don’t match the exact specifications required for optimal performance. OEM replacements ensure proper compatibility and warranty coverage.
Q: What happens if I install the wrong size belt?
A: An incorrectly sized belt can cause poor performance, excessive wear, motor strain, and potential safety hazards. Always verify specifications before installation.
Q: Is belt replacement covered under warranty?
A: Standard warranties typically cover manufacturing defects but not normal wear. Check your specific warranty terms, as some extended warranties may cover belt replacement.
Q: Should I replace other components when changing the belt?
A: Consider replacing pulleys, tensioners, and rollers if they show signs of wear. This preventive approach can prevent future breakdowns and ensure optimal system performance.
Q: Can I perform this repair myself, or should I hire a professional?
A: Belt replacement is generally suitable for DIY enthusiasts with basic mechanical skills. However, if you’re uncomfortable working with garage door systems or encounter complications, professional assistance ensures safety and proper installation.
Conclusion
Replacing your Craftsman 1/2 HP garage door opener replacement belt is a manageable DIY project that can restore smooth, quiet operation to your garage door system. By following proper identification procedures, using quality replacement parts, and adhering to installation guidelines, you can achieve professional results while saving money.
Remember that preventive maintenance and regular inspections are key to maximizing belt lifespan and preventing unexpected failures. Don’t wait for complete belt failure – address warning signs early to avoid more costly repairs.
If you found this guide helpful, please share it with friends and family who might benefit from learning about garage door maintenance. Your next garage door project will be much smoother with the right knowledge and preparation!
Leave a Reply