Introduction
There is nothing quite as frustrating as standing in your driveway, clicking a new remote repeatedly while your LiftMaster garage door refuses to respond. If you are struggling with this exact issue, you are not alone; learning how to program universal remote for LiftMaster garage door opener models is one of the most common homeowner maintenance tasks. This comprehensive guide will walk you through the process safely and efficiently, getting you back into your garage without the need for an expensive service call.
Understanding LiftMaster Compatibility Before You Start
Before diving into the programming steps, it is critical to understand that “universal” does not always mean “compatible with everything.” LiftMaster has evolved its technology significantly over the last three decades, and using the wrong frequency or protocol can lead to endless frustration.
According to industry data, nearly 30% of failed remote programming attempts stem from mismatched technology generations rather than defective hardware. LiftMaster primarily uses three distinct technologies:
- Security+ (1997–2011): Uses rolling code technology at 390 MHz.
- Security+ 2.0 (2011–Present): Operates on tri-band frequencies (310, 315, and 390 MHz) for enhanced security and range.
- MyQ Technology: Integrates Wi-Fi connectivity alongside radio frequency signals.
Expert Insight: Always check the color of the “Learn Button” on your motor unit. A yellow Learn Button typically indicates Security+ 2.0, while purple, orange, or red buttons indicate older Security+ or DIP switch systems. Identifying this before buying a remote saves time and money.
For a deeper technical understanding of how these rolling code security protocols function to prevent signal interception, you can refer to the Garage Door Opener entry on Wikipedia.org, which details the evolution of RF safety standards.
Step-by-Step: How to Program Universal Remote for LiftMaster Garage Door Opener
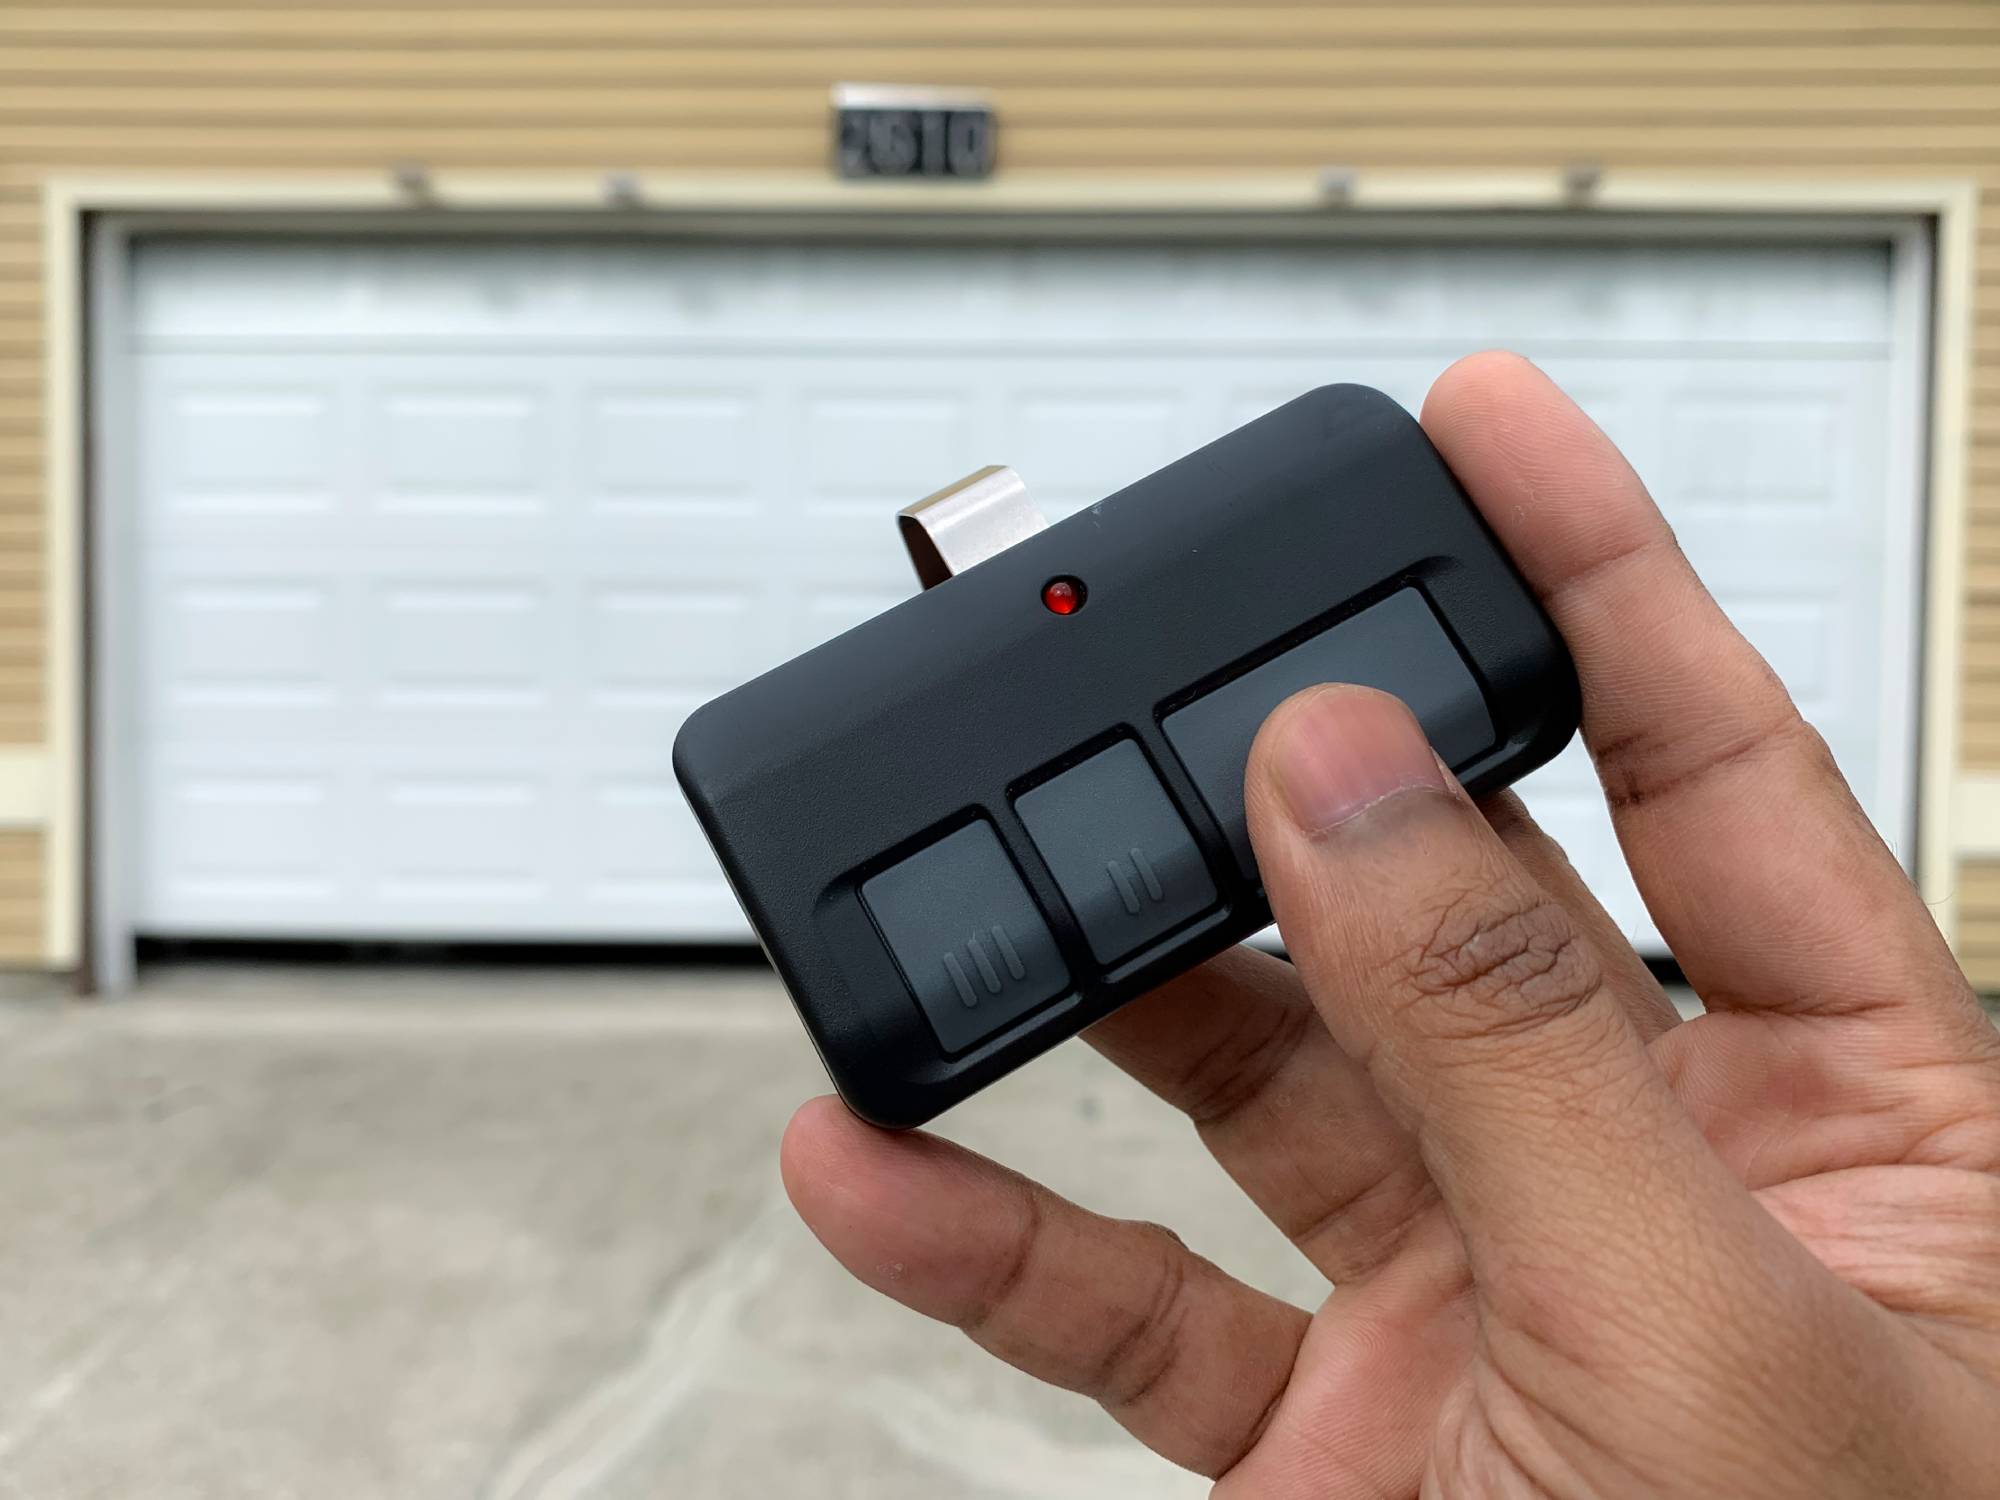
This tutorial assumes you have a modern universal remote (such as a Chamberlain/LiftMaster 85LMC or a reputable third-party equivalent) and a functioning motor unit.
Step 1: Locate the Learn Button
Find the “Learn” button on your garage door opener motor. It is usually located on the back panel near the antenna wire or under the light lens cover. The button may be yellow, red, purple, or green.
Step 2: Clear Previous Codes (Optional but Recommended)
If the remote was previously used or if you are experiencing interference, hold down the Learn Button for 6–10 seconds until the LED indicator turns off. This clears all paired remotes. Note: You will need to reprogram all existing keypads and remotes after this step.
Step 3: Initiate Programming Mode
Press and release the Learn Button once. The LED indicator will illuminate solidly or begin blinking, signaling the unit is in pairing mode. You typically have 30 seconds to complete the next step before the system times out.
Step 4: Transmit the Signal from Your Universal Remote
On your universal remote, press and hold the button you wish to assign. Hold it for 2–3 seconds, then release. Repeat this press-and-hold cycle up to three times. Many universal remotes require multiple transmissions to sync the rolling code algorithm correctly.
Step 5: Verify Successful Pairing
Watch the motor unit’s LED lights. They should flash or turn off completely to confirm successful programming. Test the remote immediately by pressing the programmed button. The door should activate within 1–2 seconds.
Step 6: Program Additional Buttons
If your universal remote controls multiple doors or accessories, repeat Steps 3–5 for each additional button. Remember that the Learn Button timer resets with each successful pairing.
Troubleshooting Common Programming Failures
Even when following instructions precisely, issues arise. Use this diagnostic table to resolve problems quickly:
| Symptom | Likely Cause | Solution |
|---|---|---|
| LED flashes but door doesn’t move | Frequency mismatch | Verify remote supports your opener’s specific MHz band |
| No LED response on motor unit | Dead batteries or faulty Learn button | Replace remote batteries; test Learn button continuity |
| Remote works intermittently | Signal interference or weak battery | Check for nearby LED bulbs causing RF noise; replace battery |
| Programs successfully then stops | Memory full or logic board error | Clear all codes and reprogram; inspect capacitor health |
| Works only within 5 feet | Antenna damage or obstruction | Extend antenna wire; ensure no metal objects block signal path |
Pro Tip: Modern LED light bulbs installed in garage openers can emit electromagnetic interference that blocks remote signals. If your remote suddenly stops working after changing bulbs, try removing them temporarily to test.
Safety Precautions During Programming
Programming involves interacting with electrical components and moving machinery. Never compromise on safety:
- Disconnect Power When Accessing Internal Components: If you must remove the motor housing cover, unplug the unit first.
- Keep Hands Clear of Moving Parts: Never attempt programming while standing directly under the door or near chain/belt drives.
- Test Safety Sensors Afterward: Always verify that photo-eye sensors reverse the door upon obstruction after any programming session.
- Use Proper Ladder Safety: Motor units are typically mounted 8–10 feet high. Use a stable stepladder, never chairs or unstable surfaces.
Frequently Asked Questions (FAQ)
Can I program a non-LiftMaster universal remote to my LiftMaster opener?
Yes, but compatibility varies significantly. Brands like Genie, Craftsman, and third-party manufacturers produce universals designed for cross-brand use. However, you must verify the remote explicitly lists your specific LiftMaster model number on its packaging. Generic “works with all” claims are often misleading for Security+ 2.0 systems.
Why does my universal remote work for a week then stop functioning?
This typically indicates either a failing battery contact inside the remote, a dying capacitor in the motor unit, or RF interference from newly installed electronics. Start by replacing the battery with a premium brand. If the problem persists, check for new LED fixtures, Wi-Fi routers, or baby monitors near the garage that may cause signal degradation.
Do I need to reprogram my remote after a power outage?
Generally, no. LiftMaster openers store remote codes in non-volatile memory that survives power loss. However, if your opener has a backup battery that failed during the outage, or if the logic board experienced a surge, reprogramming may be necessary. Always test functionality after extended outages.
How many universal remotes can one LiftMaster opener store?
Most modern LiftMaster Security+ 2.0 units can store up to 32 individual remote/keypad entries. Older Security+ models typically support 16–20 devices. Consult your specific model’s manual for exact capacity, as exceeding the limit causes older entries to be overwritten automatically.
Is there a difference between programming a universal remote and a keypad?
Yes. While both use the Learn Button, keypads require entering a PIN sequence after pressing the Learn Button, whereas remotes simply transmit a signal. Keypads also have unique timing requirements—usually requiring you to enter your code and press “Enter” within 30 seconds of activating Learn mode. Mixing up these procedures is a common source of failure.
Can weather affect remote programming success?
Extreme cold (below 20°F/-6°C) can reduce battery voltage output below the threshold needed for reliable signal transmission. Similarly, high humidity can cause corrosion on battery contacts over time. If programming fails during winter, warm the remote indoors for 15 minutes before attempting again.
Conclusion
Mastering how to program universal remote for LiftMaster garage door opener systems empowers you to maintain home security and convenience independently. By understanding compatibility requirements, following precise programming steps, and applying systematic troubleshooting, you eliminate guesswork and achieve reliable results every time. Remember that patience and attention to detail matter more than speed—rushing through the 30-second Learn window is the single most common cause of failure.
Your garage door system is a critical entry point to your home. Taking ownership of its maintenance not only saves money but builds valuable DIY confidence. Found this guide helpful? Share it on Facebook, Pinterest, or Reddit to help fellow homeowners avoid the same programming headaches. Have questions about your specific model? Drop a comment below—we read every inquiry and respond within 24 hours. Safe programming, and welcome back to effortless garage access!
Leave a Reply