Introduction
Replacing or upgrading your garage door system can feel intimidating, but learning how to install a Genie chain drive garage door opener is a manageable weekend project that saves hundreds of dollars in labor costs. Whether your old unit has failed or you are seeking the reliable torque of a chain-driven system for a heavy wooden door, this guide provides the empathetic, step-by-step support you need to succeed safely. We have distilled professional techniques into clear instructions so you can restore your home’s security and convenience without unnecessary stress.
Why Choose a Genie Chain Drive System?
Before grabbing your wrench, it is helpful to understand why this specific mechanism remains an industry standard. According to engineering principles documented on Wikipedia, chain drive openers utilize a metal chain similar to a bicycle chain to move the trolley along the rail. This mechanical advantage makes them ideal for heavy, insulated, or wooden doors where belt drives might slip or wear prematurely.
Pros and Cons at a Glance
| Feature | Advantage | Consideration |
|---|---|---|
| Lifting Power | Superior torque for heavy doors | Higher noise level than belt drives |
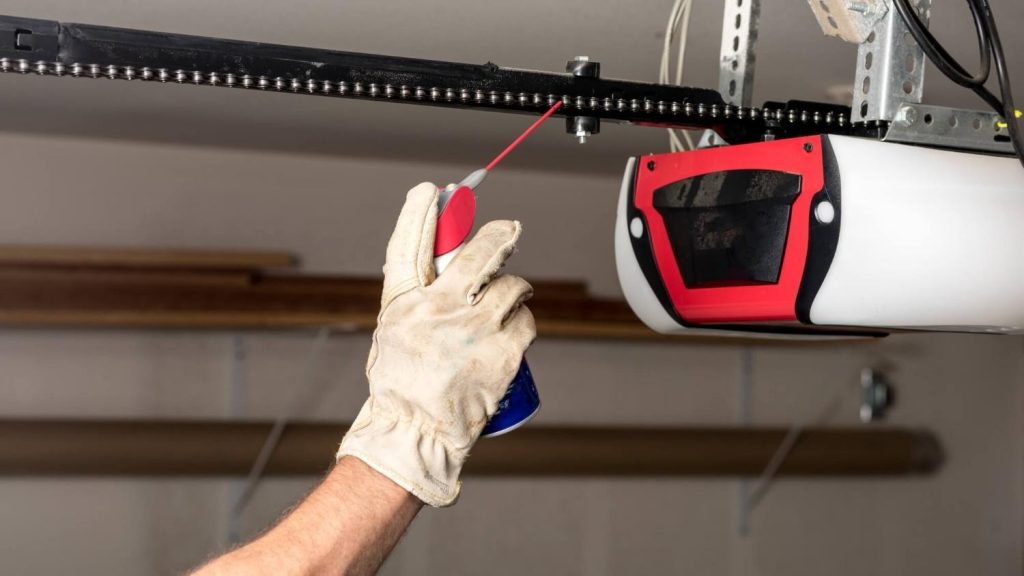
| Durability | Metal chain resists stretching | Requires periodic lubrication |
| Cost | Generally more affordable | Vibration may transfer to ceiling |
| Maintenance | Simple mechanical design | Chain tension needs checking annually |
Expert Insight: Certified Genie technicians note that while chain drives are louder, modern models like the Genie 1035 or 4062 feature vibration-reduction isolators that significantly dampen sound compared to units from the early 2000s.
What Tools Do You Need Before Starting?
Preparation prevents frustration. Gather these items before heading to the garage:
- Stepladder: Minimum 8-foot height for safe ceiling access
- Power Drill & Bits: Including ¼” masonry bits if anchoring to concrete
- Adjustable Wrenches: Two 7/16” or ½” wrenches
- Socket Set: Metric and SAE
- Level: 24-inch minimum for rail alignment
- Tape Measure & Pencil
- Safety Glasses & Work Gloves
- Helper: Never attempt solo installation; rails are unwieldy overhead
- Locking Pliers (Vise-Grips): Essential for holding bolts during assembly
⚠️ Critical Safety Warning: Always disconnect power to the existing opener and lock out the circuit breaker before beginning. Garage door springs store lethal energy; do not adjust spring tension yourself—hire a certified technician for spring work.
Step-by-Step: How To Install A Genie Chain Drive Garage Door Opener
Follow these precise steps to ensure a safe, code-compliant installation.
Step 1: Assemble the Rail and Trolley
Unbox all components and verify against the parts list. Slide the trolley onto the rail before connecting rail sections. Most Genie chain drive models use a three-piece rail system:
- Align rail sections using the provided splice plates
- Secure with ¼”-20 x ⅝” bolts and flange nuts
- Tighten to 15–18 ft-lbs using a torque wrench
- Verify the chain is pre-threaded through the trolley carriage
Pro Tip: Lay the rail on a clean floor during assembly to prevent scratching the finish or damaging the chain links.
Step 2: Mount the Header Bracket
The header bracket bears the entire lifting load, making proper placement non-negotiable.
- Locate the center point of your garage door opening
- Mark the bracket position 2–4 inches above the highest point of door travel (typically 7’6″–8′ from floor)
- If mounting to wood framing, use the provided ⅜” x 3″ lag screws driven into solid header joists
- If mounting to steel lintels, use toggle bolts rated for minimum 200 lbs shear strength
- Confirm bracket is perfectly level; even ¼” deviation causes premature chain wear
Step 3: Hang the Power Unit
This step requires your helper. The motor head typically weighs 25–35 pounds.
- Attach the mounting plate to the power unit using four ¼”-20 bolts
- With your helper supporting the unit, align the plate with ceiling joists
- Secure with ⅜” x 3″ lag screws into solid wood joists only—never rely solely on drywall anchors
- Use a level to confirm the unit is parallel to the floor; shim as needed with steel washers
- Temporarily support the rail end with a ladder or prop while connecting to the header bracket
Step 4: Connect Rail to Header Bracket and Motor
- Insert the clevis pin through the header bracket and rail tongue
- Secure with the cotter pin, bending ends fully to prevent dislodgement
- At the motor end, align the rail coupling with the sprocket shaft
- Tighten the set screw to 25 ft-lbs—overtightening strips the shaft threads
- Double-check all connections bear weight evenly before removing temporary supports
Step 5: Install the Chain and Adjust Tension
Proper chain tension is critical for smooth operation and longevity.
- Thread the chain through the idler pulley and around the motor sprocket
- Connect chain ends using the master link, ensuring the clip faces away from rotation direction
- Loosen the idler pulley adjustment nut
- Adjust until chain sag measures ¼”–½” at the midpoint between sprockets when door is closed
- Retighten the locknut securely; recheck tension after first 10 cycles
Note: New chains stretch during break-in. Re-tension after 30 days of normal use.
Step 6: Wire Safety Sensors and Controls
Modern Genie openers require photo-eye sensors per federal safety standards (UL 325).
- Mount sensors 4–6 inches above floor on both sides of the door track
- Ensure lenses face each other directly with unobstructed beam path
- Run low-voltage wire along walls, securing every 18″ with staples
- Connect wires to terminal block: white to white, black to black
- Test beam alignment: LED should glow steady green on receiving sensor; amber/red indicates misalignment
- Program wall console and remotes per manufacturer’s dip-switch or learn-button sequence
Step 7: Set Travel Limits and Force Settings
Incorrect limits damage doors and openers.
- Down Limit: Close door manually; adjust down-limit screw until door seals evenly without excessive force
- Up Limit: Open door fully; adjust up-limit screw to stop trolley 2–4″ from motor housing
- Force Adjustment: Set to minimum required to operate door; test by placing a 2×4 flat on floor under door center—door must reverse within 2 seconds of contact
- Cycle door 5–10 times, fine-tuning as needed
Frequently Asked Questions
How long does it take to install a Genie chain drive garage door opener?
Most experienced DIYers complete installation in 3–5 hours, including wiring and testing. First-time installers should budget 6–8 hours to allow for careful reading and double-checking measurements. Rushing increases error risk and safety hazards.
Can I reuse my existing rail and hardware with a new Genie motor?
Generally, no. Rail dimensions, trolley designs, and sprocket specifications vary significantly between brands and even Genie model generations. Mixing components voids warranties and creates unsafe operating conditions. Always use the complete kit provided with your new opener.
Why is my newly installed Genie chain drive making grinding noises?
Grinding typically indicates one of three issues: (1) chain overtightened beyond ½” sag specification, (2) rail sections misaligned causing trolley binding, or (3) insufficient lubrication on chain and rollers. Apply Genie-specific chain lube (not WD-40) and recheck alignment. Persistent noise warrants professional inspection.
Do I need a permit to install a garage door opener myself?
Permit requirements vary by municipality. Many jurisdictions exempt like-for-like replacements, but new installations or electrical modifications may require permits. Check with your local building department; unpermitted work can complicate future home sales and insurance claims.
How often should I maintain my Genie chain drive opener?
Perform basic maintenance every 6 months: lubricate chain and rollers, inspect safety sensor alignment, test auto-reverse function, and tighten hardware. Annually, check chain tension, inspect sprocket wear, and verify force settings. Professional servicing every 2–3 years extends lifespan significantly.
Is a chain drive better than a belt drive for my garage?
It depends on your priorities. Chain drives offer superior lifting capacity and durability for heavy doors at lower cost, making them ideal for uninsulated steel or solid wood doors. Belt drives provide quieter operation suited for attached garages with living spaces above. For most residential applications with standard-weight doors, both perform reliably; choose based on noise tolerance and door weight.
Conclusion
Mastering how to install a Genie chain drive garage door opener empowers you with lasting self-sufficiency and significant cost savings. By following these detailed steps, prioritizing safety protocols, and respecting mechanical tolerances, you will achieve professional-grade results that serve your household reliably for decades. Remember that patience during installation pays dividends in smooth, quiet operation and extended equipment life.
Found this guide helpful? Share it with fellow homeowners tackling garage projects on Facebook, Pinterest, or Nextdoor! Tag us in your installation photos—we love celebrating DIY successes and helping others gain confidence in home maintenance. Your shared experience could be the encouragement someone needs to start their own project safely. 💪🔧
Leave a Reply