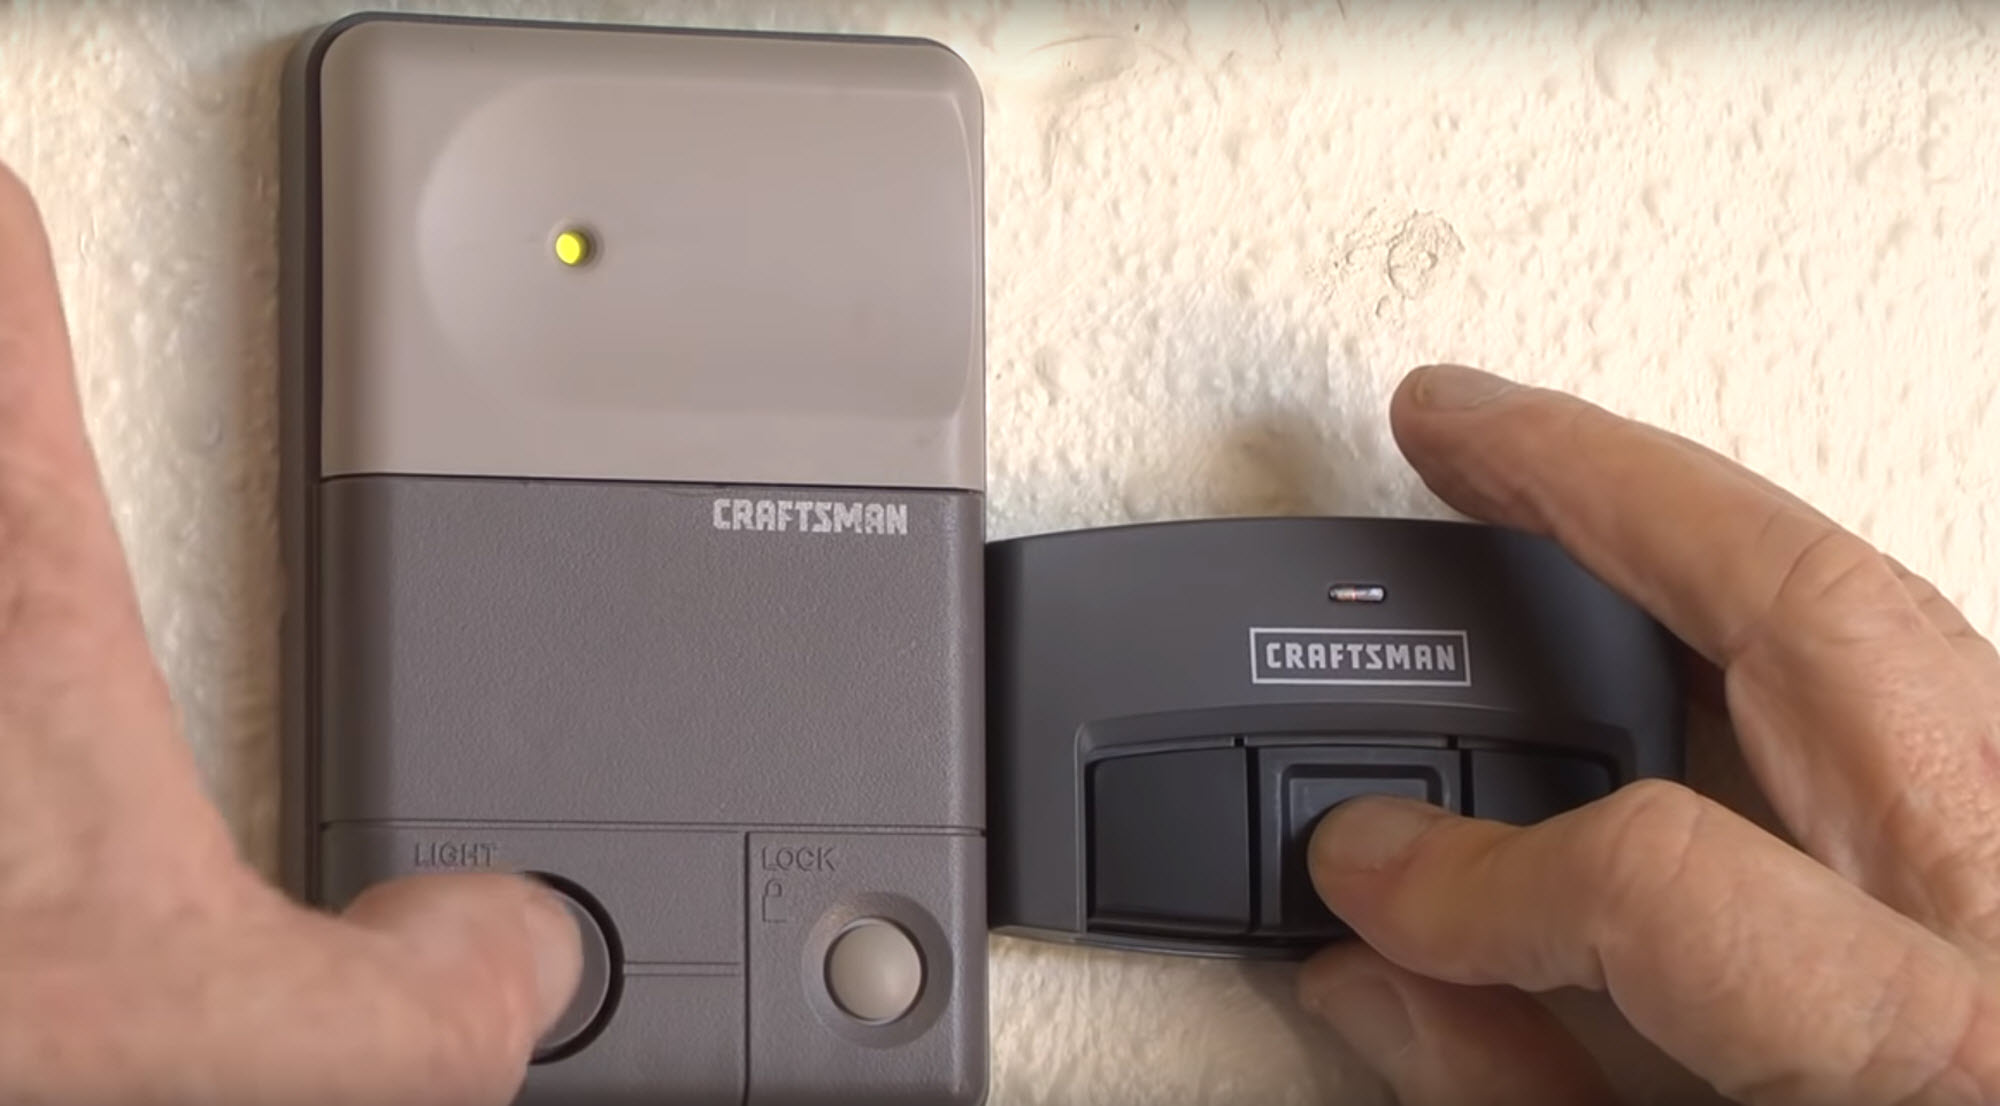
If you are standing in your driveway, pressing the remote button only to see your garage door stay shut while the motor unit flashes an annoying pattern of lights, you are not alone. This specific issue is one of the most common frustrations for homeowners with older Craftsman models. When your Craftsman 1/2 HP garage door opener blinks 10 times, it is not just a random glitch; it is a critical safety warning that requires immediate attention to ensure your family’s security.
In this guide, we will break down exactly what this error code means, why it happens, and provide step-by-step instructions to fix it yourself without calling an expensive technician. We will focus on practical, proven solutions that prioritize safety and efficiency.
What Does 10 Blinks Mean on a Craftsman Opener?
To solve the problem, we first need to understand the language your garage door opener is speaking. Craftsman openers, particularly those manufactured by Chamberlain or LiftMaster (the parent companies behind many Craftsman units), use diagnostic LED codes to communicate internal status.
When the LED light on the motor head blinks 10 times after you attempt to close the door, it indicates a Safety Reversal System Issue. Specifically, the opener has detected that the safety eyes (photo-electric sensors) are either misaligned, blocked, or disconnected.
The Safety Mechanism Explained
Modern garage doors are equipped with infrared sensors near the floor on both sides of the door track. These sensors create an invisible beam across the entrance. If anything breaks this beam while the door is closing, the opener immediately stops and reverses the door to prevent injury or damage.
According to federal safety standards established in 1993, all residential garage door openers must have this feature. If the system cannot verify that the beam is intact, it will refuse to close the door and signal the error via the 10-blink code. You can read more about the history of these safety regulations on Wikipedia’s page regarding Garage Door Openers.
Why Do the Safety Sensors Fail?
Before jumping into repairs, it helps to know why this happens. Understanding the root cause prevents the issue from recurring next month. Here are the most common reasons for the 10-blink error:
- Misalignment: This is the #1 cause. Even a slight bump from a car, a lawnmower, or strong winds can knock the sensors out of line. They must face each other perfectly.
- Dirty Lenses: Dust, spiderwebs, mud, or condensation can block the infrared light, tricking the system into thinking an object is in the way.
- Sunlight Interference: In rare cases, direct sunlight hitting the receiving sensor can overwhelm the infrared signal, causing false readings.
- Loose Wiring: The wires connecting the sensors to the motor head may have become frayed, chewed by pests, or disconnected at the terminal.
- Obstructed Beam: Sometimes, a box, bike, or even a tall weed is physically blocking the path between the two sensors.
Step-by-Step Fix: Aligning the Sensors
Fixing the 10-blink error is usually a straightforward task that takes less than 15 minutes. You do not need specialized tools, just a ladder and possibly a screwdriver. Follow these steps carefully.
Step 1: Inspect the LED Lights on the Sensors
Look at the small boxes mounted near the floor on both sides of your garage door. Each sensor has an LED light.
- Sending Unit (Usually Green): This light should be solid green. It indicates power is reaching the sensor.
- Receiving Unit (Usually Amber/Yellow): This light should also be solid. If it is blinking or off, the sensors are not seeing each other.
Pro Tip: If both lights are off, check your power source or circuit breaker. If the sending unit is off but the receiving unit is on, check the wiring connection at the motor head.
Step 2: Clean the Lenses
Take a soft, dry cloth or a microfiber rag. Gently wipe the plastic lens on both sensors. Remove any dirt, cobwebs, or moisture. Avoid using harsh chemicals that might cloud the plastic.
Step 3: Check for Physical Obstructions
Ensure nothing is blocking the path between the two sensors. Move any storage items, bicycles, or trash cans away from the immediate area of the sensor beam. Trim any weeds or grass that may have grown up in front of the lenses.
Step 4: Realign the Sensors
This is the most critical step.
- Loosen the wing nut or bolt holding the sensor bracket to the track slightly. Do not remove it completely; just make it loose enough to move.
- Adjust the sensor until the LED light on the receiving unit turns from blinking to solid.
- Once the light is solid, tighten the wing nut securely. Be careful not to twist the sensor while tightening, as this can knock it out of alignment again.
- Test the door by pressing the wall button. The door should now close without reversing.
Step 5: Check the Wiring
If aligning the sensors does not stop the 10-blink error, inspect the wires.
- Look for cuts, chew marks, or exposed copper.
- Ensure the wires are securely stapled to the wall or ceiling and not hanging loosely where they could get caught.
- Check the connections at the back of the motor unit. Ensure the white and black wires are connected to the correct terminals (usually labeled “Sensor” or with a small icon of an eye).
Troubleshooting Advanced Issues
If you have aligned the sensors, cleaned them, and checked the wiring, but the Craftsman 1/2 HP garage door opener still blinks 10 times, you may be dealing with a deeper issue.
Sunlight Interference
If the error only happens at certain times of day (like late afternoon), direct sunlight might be blinding the receiver.
- Solution: Create a shade shield using a small piece of cardboard or purchase a universal sensor sun shield kit. Attach it above the receiving sensor to block direct rays while allowing the infrared beam to pass through.
Faulty Sensor Unit
Sensors can fail electronically over time. If the LED on the sending unit is solid, but the receiving unit never lights up regardless of alignment, the receiver may be dead.
- Solution: Replace the sensor pair. Universal replacement sensors are widely available and compatible with most Craftsman models. Ensure you buy a pair, as they must be matched.
Control Board Failure
In rare cases, the logic board inside the motor unit may be faulty and unable to process the sensor signal correctly.
- Solution: This requires professional diagnosis. If you are comfortable with electronics, you can try resetting the opener by unplugging it for 5 minutes. If the issue persists, contact a certified technician.
Comparison: Sensor Issues vs. Other Error Codes
It is easy to confuse different blink codes. Here is a quick reference to ensure you are solving the right problem.
| Blink Count | Meaning | Common Cause |
|---|---|---|
| 10 Blinks | Safety Sensor Issue | Misalignment, dirt, or wiring fault. |
| 5 Blinks | Motor Overheating | Too many operations in a short time. Wait 15 mins. |
| 1 Blink | No Power / Battery | Check outlet or remote battery. |
| Continuous Flash | Lock Mode Activated | Press and hold the lock button on the wall console. |
Frequently Asked Questions (FAQ)
1. Can I bypass the safety sensors to close the door?
While some older models allow you to hold the wall button to force the door closed, this is highly discouraged. Bypassing safety sensors removes critical protection against injury or death, especially for children and pets. Always fix the underlying issue rather than bypassing the safety feature.
2. Why do my sensors work at night but blink 10 times during the day?
This is likely due to sunlight interference. The infrared signal from the sun is stronger than the signal from your sensor. Try shading the receiving sensor or adjusting its angle slightly to avoid direct sun exposure.
3. Do I need to replace both sensors if one is broken?
Yes. Sensors operate as a paired system. Even if only one appears faulty, replacing both ensures compatibility and proper voltage matching. Mixing old and new sensors can lead to intermittent errors.
4. How often should I clean my garage door sensors?
It is recommended to wipe down the sensor lenses once a month as part of routine garage maintenance. Additionally, check the alignment seasonally, as temperature changes can cause the metal tracks to expand or contract, shifting the sensor brackets.
5. Will a power outage reset the 10-blink error?
A power outage may temporarily clear the error memory, but if the physical misalignment or wiring fault remains, the 10-blink code will return the next time you try to close the door. A reset does not fix mechanical or alignment issues.
Conclusion
Dealing with a Craftsman 1/2 HP garage door opener that blinks 10 times can be stressful, but it is rarely a catastrophic failure. In the vast majority of cases, the issue is simply a matter of dirty lenses or slight misalignment of the safety sensors. By following the steps outlined above—cleaning, aligning, and inspecting wiring—you can restore your garage door’s functionality quickly and safely.
Remember, these sensors are there to protect your loved ones. Taking the time to maintain them ensures peace of mind every time you press that remote button. If you found this guide helpful, please share it with friends or neighbors who might be struggling with similar garage door issues. Safe driving!
Leave a Reply