
Is your Chamberlain remote acting up, leaving you stuck in the driveway? Don’t worry, you are not alone, and fixing it is much easier than you think. In this guide, we will walk you through the simple steps of Changing The Battery In A Chamberlain Garage Door Opener so you can get back to your day stress-free.
A Complete Guide to Changing The Battery In A Chamberlain Garage Door Opener
A modern garage door opener is a marvel of convenience, but it relies heavily on consistent power. According to the International Door Association (IDA), the average American uses their garage door three to four times a day.
When your remote dies, it disrupts your entire daily routine. Fortunately, replacing the battery is a quick, cost-effective DIY task that takes less than five minutes. By doing it yourself, you save money on service calls and regain immediate access to your garage.
How Do You Know It Is Time for a Replacement?
Before diving into the tutorial, it is crucial to confirm that the battery is actually the culprit. Here are the most common signs that your remote is dying:
- Reduced Operating Range: You used to be able to open the door from 500 feet away, but now you must be practically touching the door.
- Blinking LED Light: The small indicator light on your remote blinks rapidly or dimly when you press the button.
- Intermittent Functionality: You have to press the button multiple times or hold it at a very specific angle for the door to respond.
- Motor Unit Beeping: If your Chamberlain model has a battery backup, a flashing red light or a beeping sound indicates the internal backup battery is depleted.
What Tools and Materials Do You Need?
Gathering the right materials before you start ensures a smooth process. For a standard Chamberlain visor remote, you will need:
- A New Battery: Most standard Chamberlain remotes use a 3V CR2032 lithium coin cell battery. (Note: Always check your specific remote model to confirm).
- A Small Flathead Screwdriver: Used to gently pry open the remote’s plastic casing.
- A Microfiber Cloth: To wipe away any dust or debris from the battery compartment.
Step-by-Step Tutorial: Changing The Battery
Follow these precise steps to replace your remote battery safely and effectively.
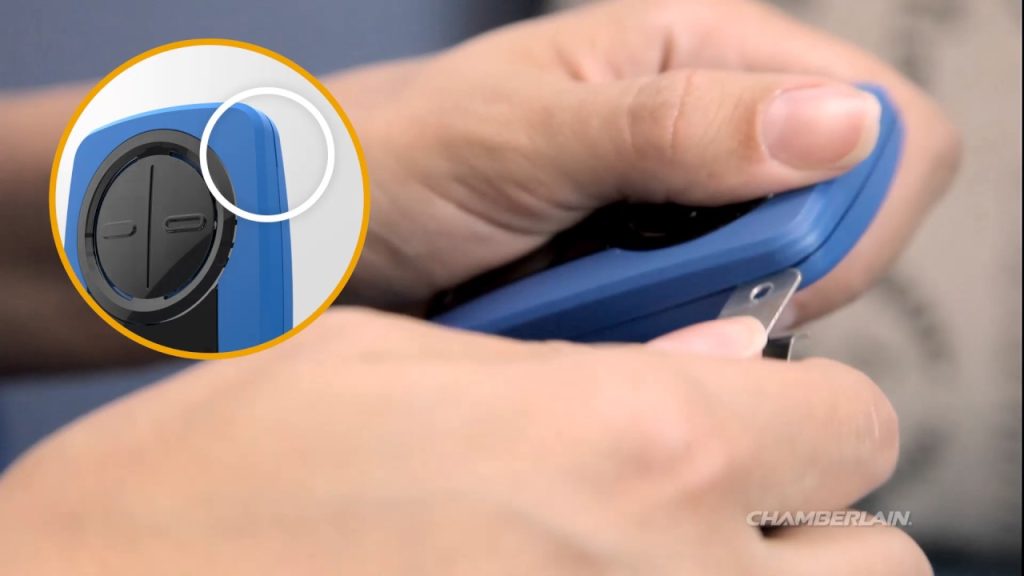
Step 1: Open the Remote Compartment
Look for a small coin slot or indent on the side or bottom of your remote. Insert your small flathead screwdriver into the slot and gently twist it 45 degrees. Apply just enough pressure to pop the back cover off without cracking the plastic.
Step 2: Remove the Old Battery
Once the compartment is exposed, you will see the circular battery. Use your finger or the edge of your screwdriver to gently push the battery outward. Do not use excessive force, as this can damage the delicate metal contact pins inside.
Step 3: Clean and Insert the New Battery
Wipe the compartment with your microfiber cloth to remove any dust. Take your new CR2032 battery and ensure the positive (+) side is facing up. Press it firmly into the slot until you hear a soft click, indicating it is securely seated.
Step 4: Reassemble and Test
Snap the back cover of the remote back into place. Stand exactly 20 feet away from the garage door and press the button. If the door opens smoothly on the first try, congratulations—you have successfully completed the replacement!
DIY vs. Professional Help: Which Should You Choose?
Many homeowners wonder if they should call a technician for a simple battery issue. Here is a quick comparison to help you decide:
| Aspect | DIY Battery Replacement | Professional Service Call |
|---|---|---|
| Cost | $5 – $10 (Cost of the battery) | $75 – $150 (Service fee + parts) |
| Time Required | 5 minutes of your own time | 2 to 4 hours (waiting for the tech) |
| Skill Level | Beginner (No tools required) | N/A (Handled by the expert) |
| Warranty | Void if you break the remote | Guaranteed workmanship |
Verdict: For a simple remote battery change, DIY is highly recommended. It saves you significant time and money. However, if the motor unit’s internal backup battery is failing and you are uncomfortable working with electrical wiring, hiring a professional is the safer choice.
Expert Tips to Maximize Your Battery Lifespan
To get the most out of your new battery, follow these expert maintenance tips:
- Avoid Extreme Temperatures: Leaving your remote in a car parked under the scorching summer sun can degrade the lithium cell. Try to keep the remote in your home or a shaded visor.
- Buy in Bulk: Lithium coin cell batteries have a shelf life of up to 10 years. Buying a 5-pack ensures you always have a fresh one on hand.
- Check the Contacts: If your remote still acts up after a battery change, use a cotton swab dipped in rubbing alcohol to clean the metal contacts.
Frequently Asked Questions (FAQ)
1. What type of battery does a Chamberlain garage door opener remote use?
The vast majority of Chamberlain and LiftMaster visor remotes use a 3V CR2032 lithium coin cell battery. However, some older or specialized models might use a 12V alkaline battery (like a 27A or 23A). Always check the label inside the battery compartment to be 100% sure.
2. How often should I change the battery?
Under normal usage conditions, a high-quality lithium coin cell battery should last anywhere from 1.5 to 2 years. If you use your garage door more frequently than the national average, you may need to replace it annually.
3. Will I need to reprogram my remote after changing the battery?
No, you do not need to reprogram your remote. The remote’s memory is stored in a non-volatile chip, meaning it retains its programming even when the battery is completely removed. Your door should work immediately upon inserting the new battery.
4. What if the new battery does not fix the problem?
If the remote still fails to work, the issue might be something else. First, check if the safety sensors near the floor are misaligned or blocked by dirt. Next, ensure the motor unit is receiving power. If the remote is physically damaged or the internal circuit board is fried, you will need to purchase a replacement remote.
Conclusion
Mastering the process of Changing The Battery In A Chamberlain Garage Door Opener is a simple yet highly rewarding DIY skill. Not only does it save you the frustration of being locked out of your garage, but it also keeps your daily routine running smoothly without the need for expensive professional repairs. By keeping a spare CR2032 battery in your drawer, you can ensure you are never caught off guard again.
Did you find this guide helpful? Don’t keep it to yourself! Share this article on your Facebook, Pinterest, or X (Twitter) to help your friends and neighbors fix their garage doors in minutes. Happy DIYing!
Leave a Reply